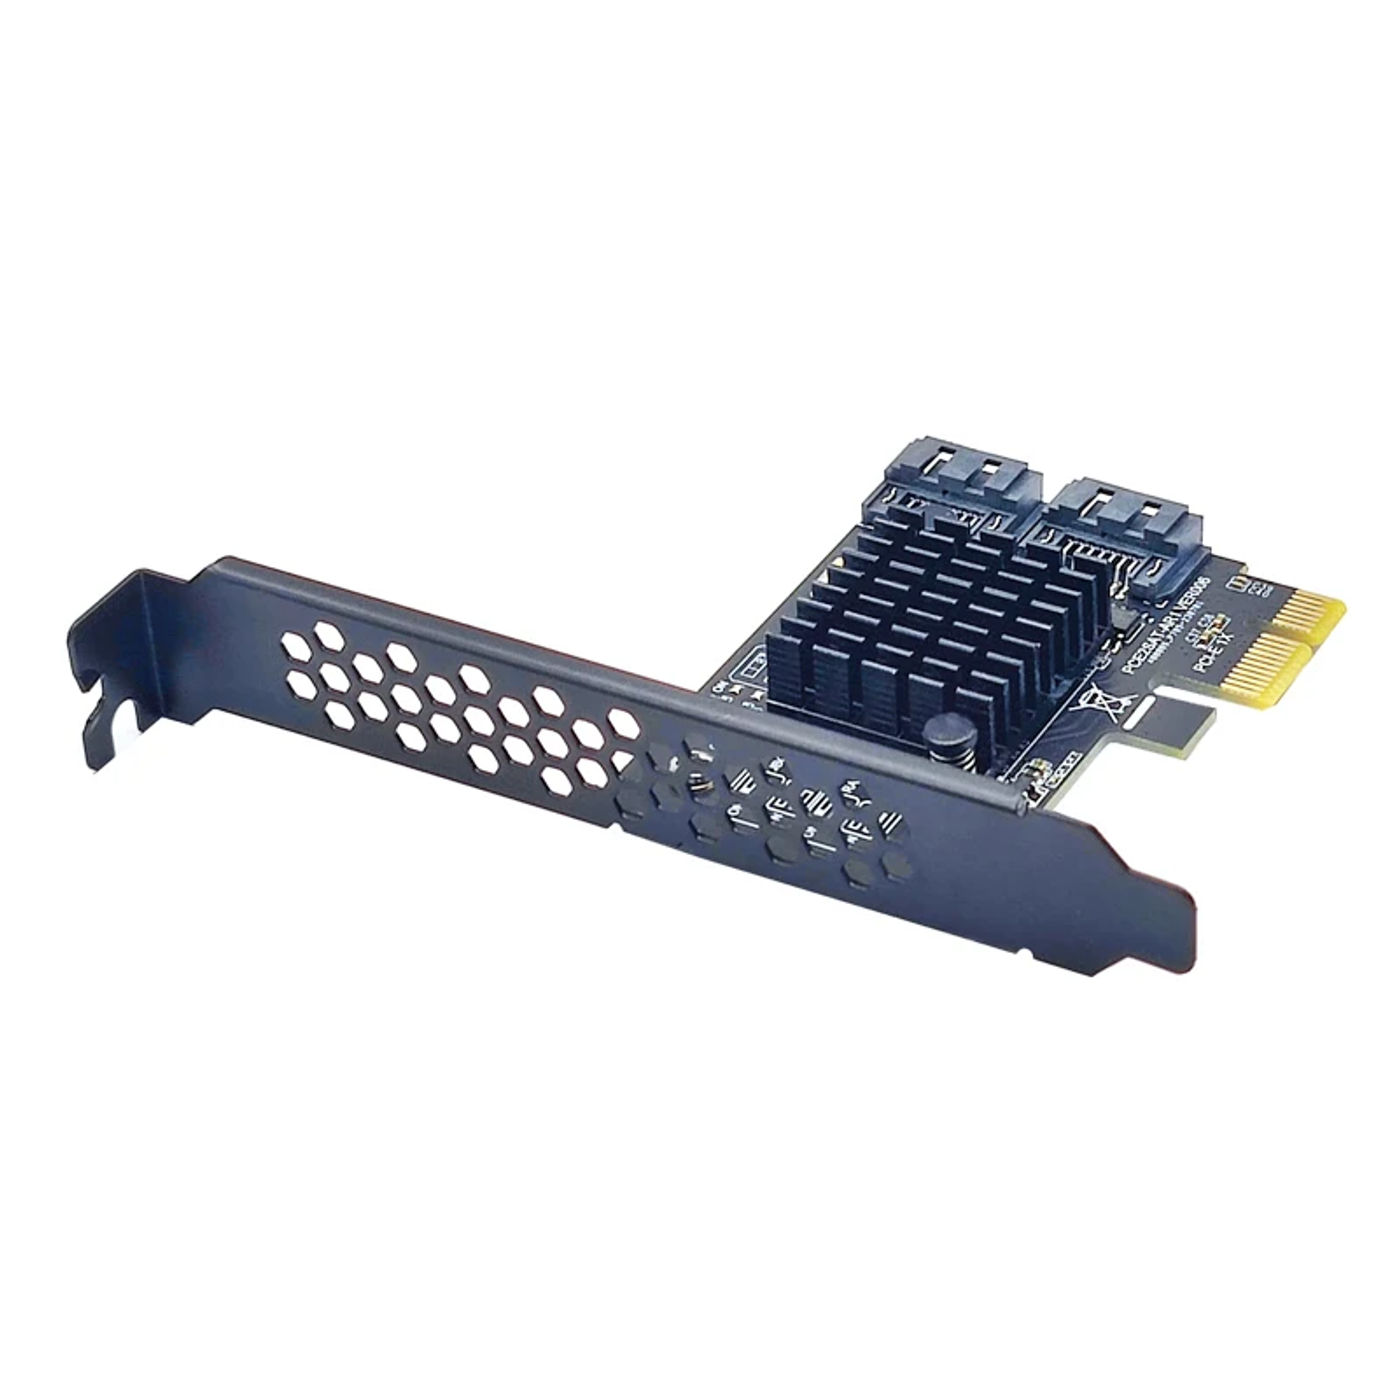
NEW SATA Raid PCI-E Card SATA Raid Controller ASMedia 1061R Chip PCI Express X1 to two Port SATA3 6Gb RAID Card for SATA HDD SSD
About Description:
Product Introduction
This is PCI Express Gen2 x1 to 2 ports of Serial ATA 6Gbps, integrates ASMedia Hydratek hardware RAID engine, permits Serial ATA PHY up to 6Gbps high velocity interface, helps SRIS(Separate Refclk Independent SSC) function, complies with Serial ATA Revision three Specification
Features
● Industry Specifications Compliance:
PCI Express Base Specification Rev 2
PCI Express Card Electromechanical Rev 2
Serial ATA AHCI Spec Rev
Serial ATA Revision three
Serial ATA Features
● Supports 2 ports Serial ATA PHY
● 1, three and six pace negotiation
● Supports AHCI programming interface
● Supports Native Command Queue (NCQ)
● Supports Port Multiplier command founded switching
● Embedded hardware RAID engine
● Supports RAID0,RAID1,SPAN
● RAID mode changeable, controlled via the atmosphere by means of two GPIOs or GUl application
● RAID0 high functionality for the information transmission
● Supports S characteristic
● Supports computerized rebuild
● Supports excessive performance off-line rebuild
● Supports background rebuild
Note: Not Supported RAID on PM
System Requirements
Supports Windows 7/8/10/11/Server 2012/2008/linux
Hardware Installation
1 Tum off the power to your pc
2 Unplug the ability twine and take away your computer’s disguise
three Locate to an empty PCI Express x1,x4, x8, or x16 slot on the motherboard
four To set up the board, closely align the card&;s bus connector with the
selected PCI-E slot on the motherboard Push the board down firmly
5 Attach your inner devices to the SATA3 Card
6 Replace the slot bracket’s protecting screw to secure the card
7 Replace the computer disguise and reconnect the power wire
Warning: AlI the info on the tough disks related to the controller card will be permanently erased in the following activities
Create Raid
1 Turn in your computer, follow the prompt, and press Ctrl + R for the RAlD setup screen
2 Press Enter
three Use keyboard arrow keys select “Create RAlD Model",and press Enter
4 AIl Data will be lost, certain to process?(Y/N)
five Mode Change is completed
6 Press ESC and Y to save lots of and exit BIOS Setup
Delete RAID Array
Method 1:
1 Turn in your computer, stick to the prompt, and press Ctrl + R for the RAlD setup screen, Press Enter
2 Use keyboard arrow keys select "Remove RAlD "and press Enter
three AlI Data can be deleted, are you sure? (Y/N)
4 Mode Change is completed
five Press ESC“Leave Configure controller? (Y/N)", select Y
6 Press ESC“Leave RAID Manager? (Y/N)", choose Y
Method 2:
After getting into the method or scanning hard drive information, hold down the RESET switch on the card for 3 seconds Then the indicator on the card will blink twice, indicating that the RAID Settings are deleted
Note: If the cardboard has a RAID group, it's best to stick to the procedure described in Deleting RAID Settings to delete RAID Settings earlier than changing the hard disk drive If you don't delete it, the hot harddrive will seem unrecognized
Note:
1 The SATA3 PCI-E card ought to be put in within the PCI-E slot of the motherboard, and mustn't ever be inserted into the PCI slot
2 The quickest pace is 380-450m/s in PCI-E 2 If it is plugged into PCI-E1, the speed solely runs 200-300m/s Different pc 3 configurations and sata ssd have different speeds If all ports are used on the same time, the rate will decelerate
4 We recommend to use this SATA 3 Card in PCIE2 or 3 slot, as a way to get the fastest speed
5 Be certain to turn off the ability of the pc before placing or removing the card, after which insert the cardboard to circumvent harm to the motherboard or growth card
6 The drives that this product desire is included in Microsoft systerms
You&;ll receive:
1 x SATA3 PCI-Express Controller Card
1 x Low Profile Bracket
Please examine photos for extra details