


Preces apraksts
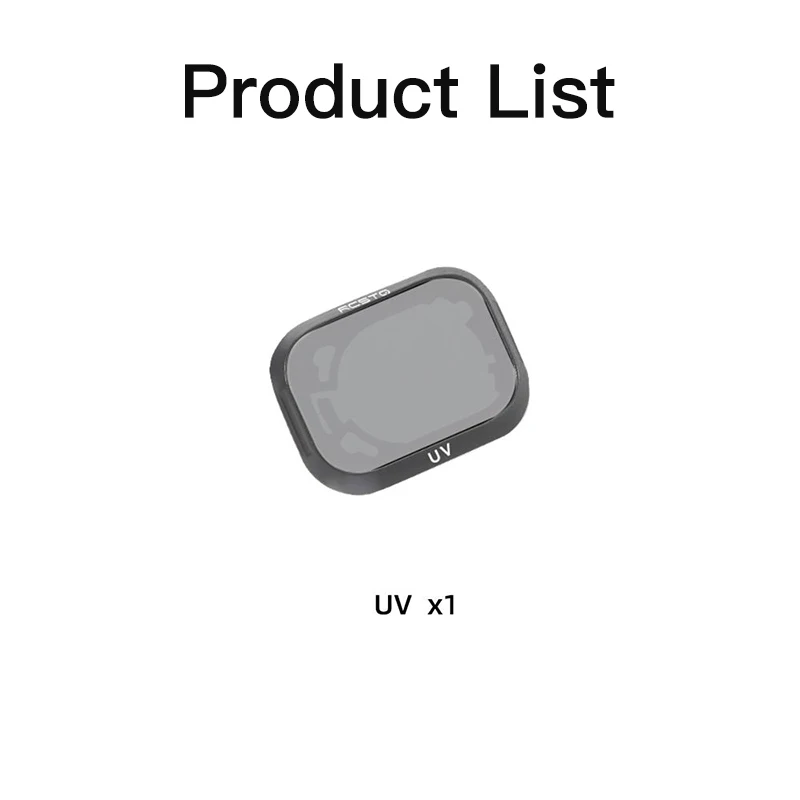
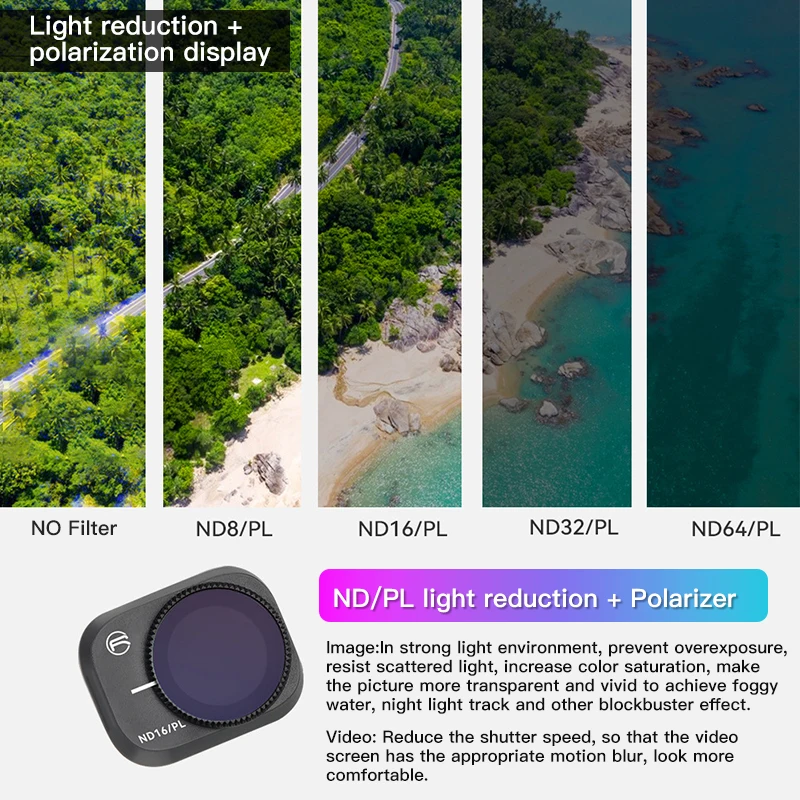
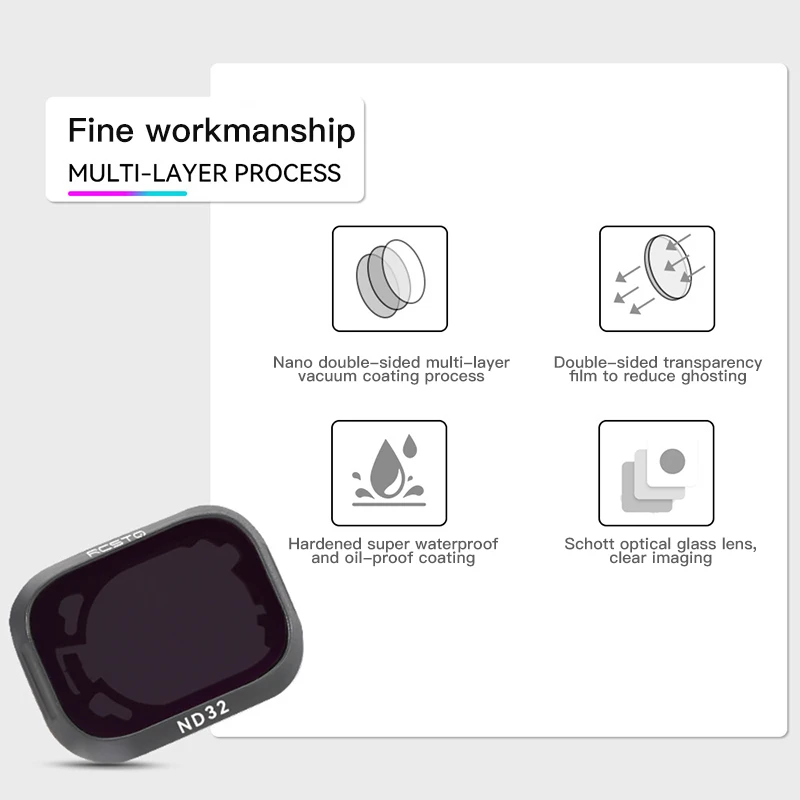
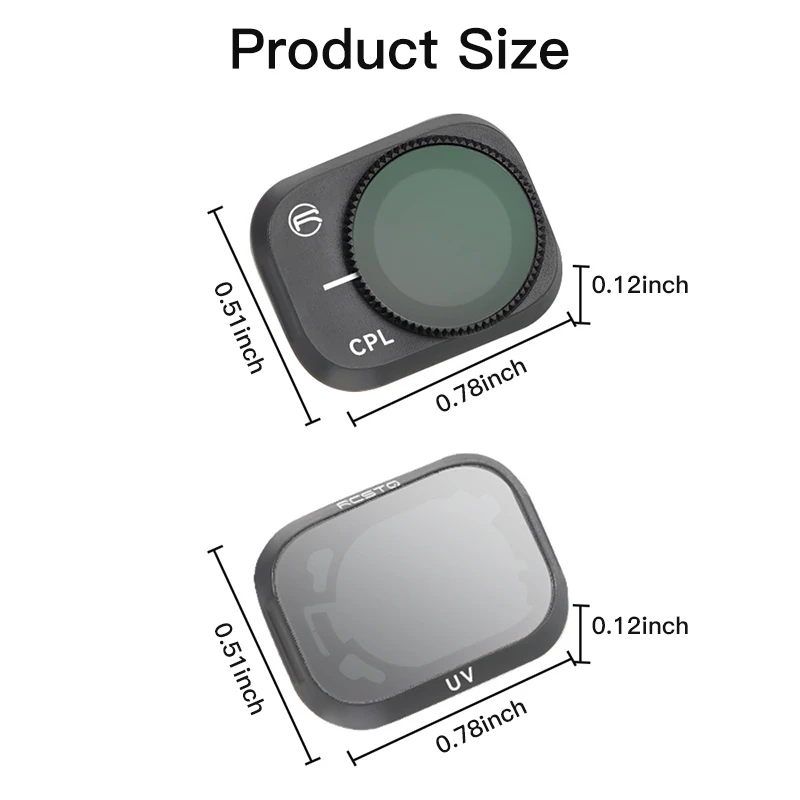
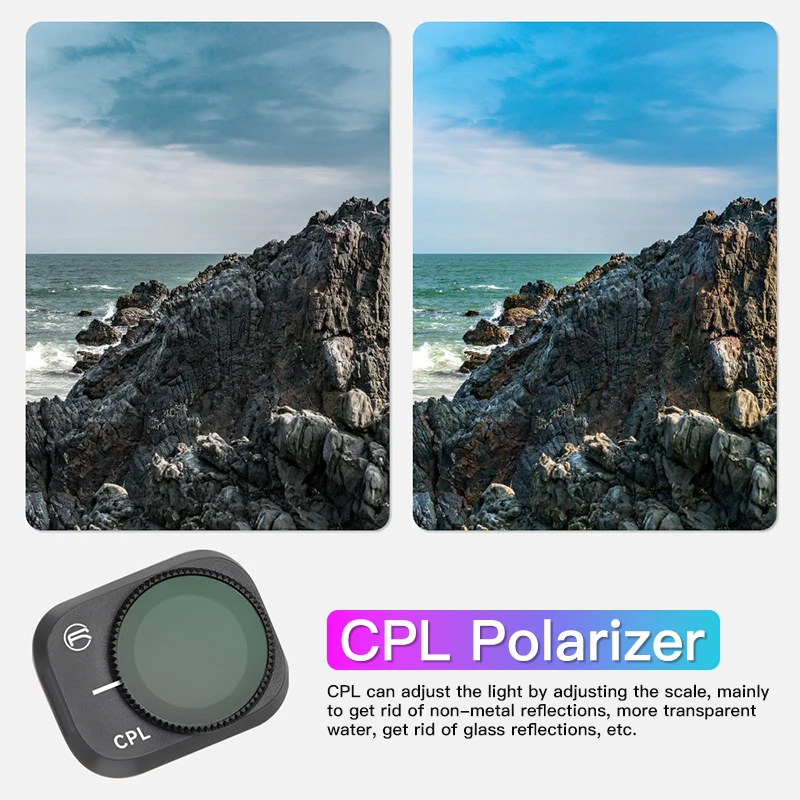
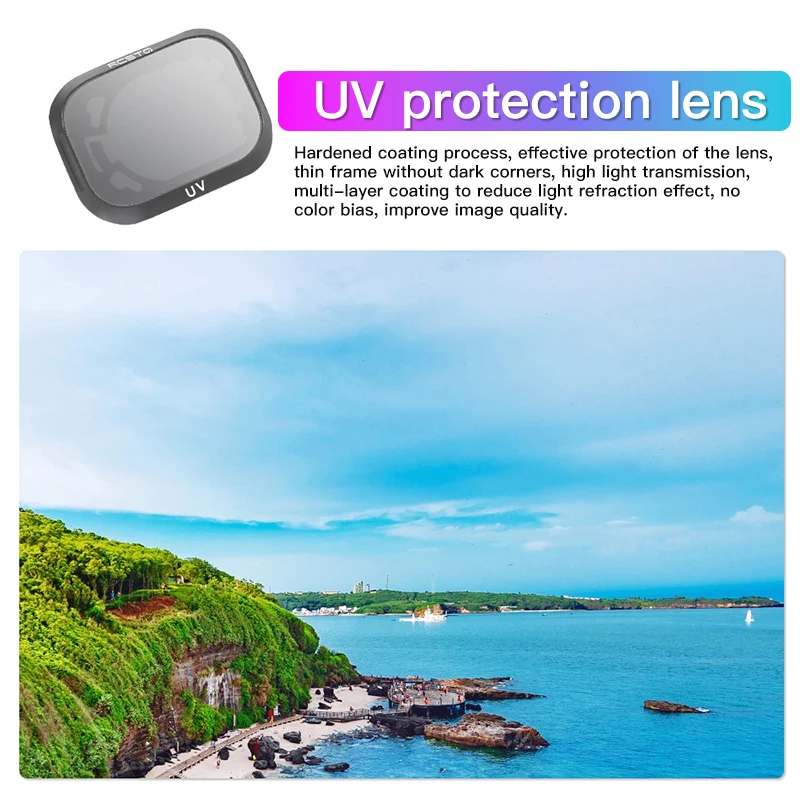
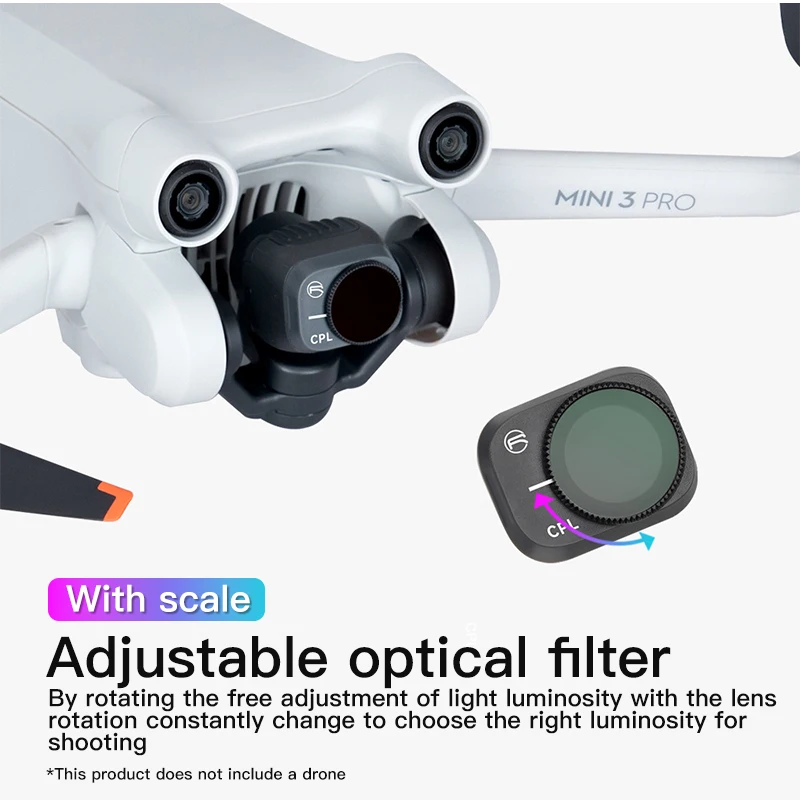
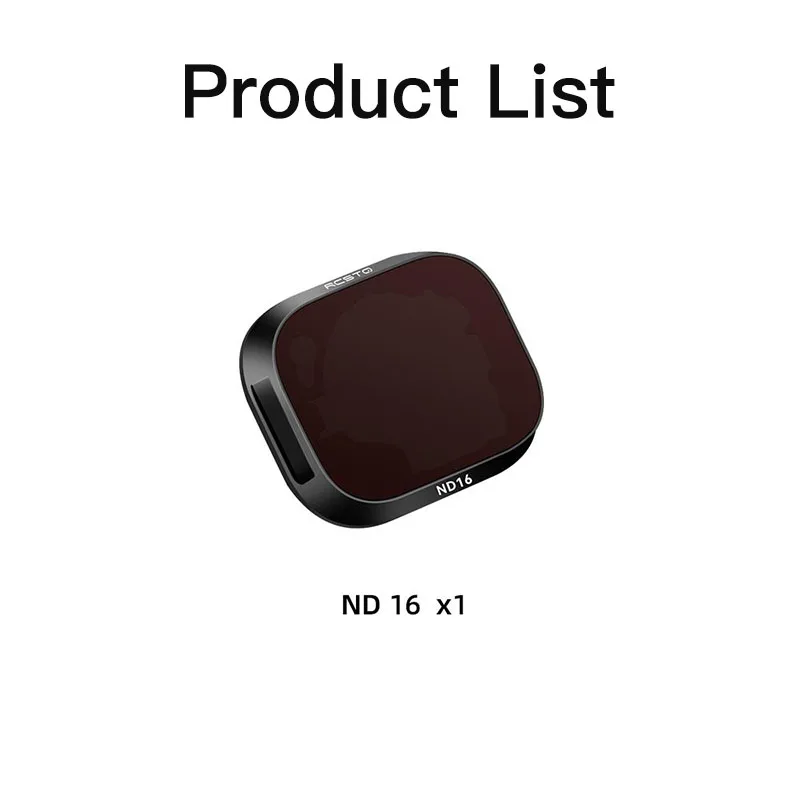
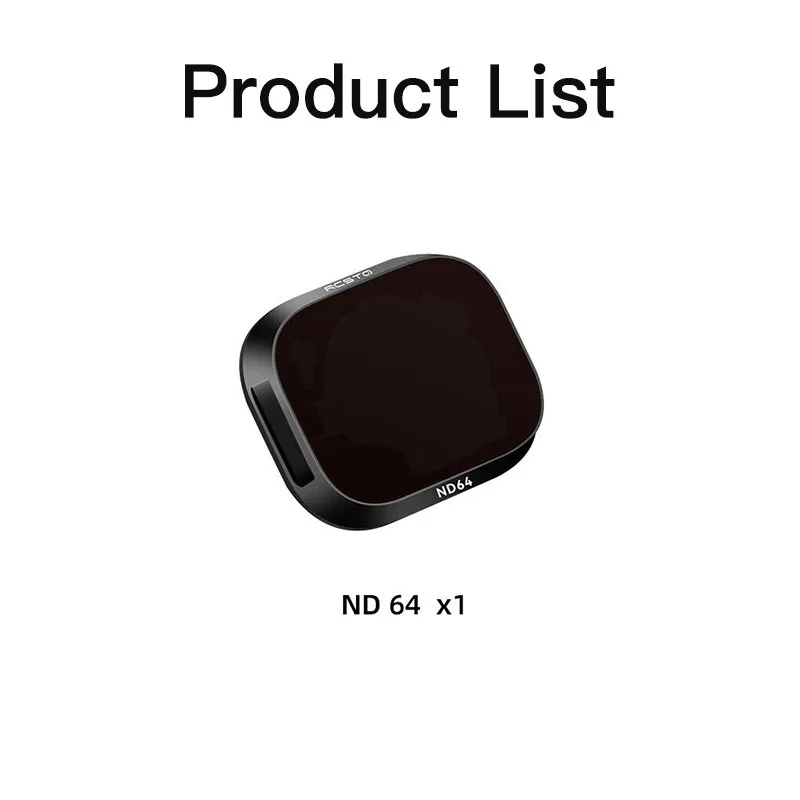
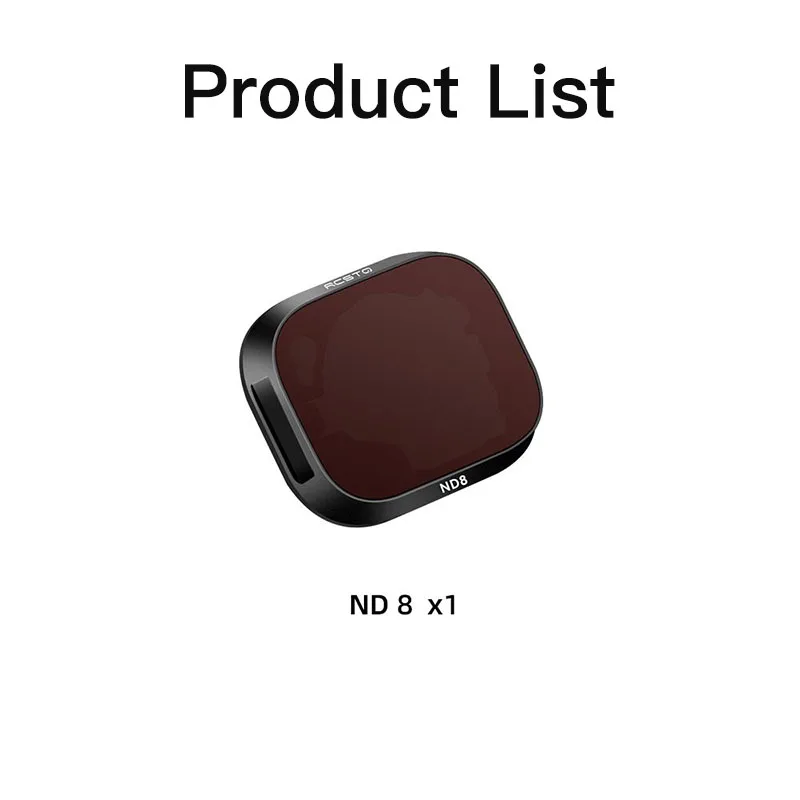
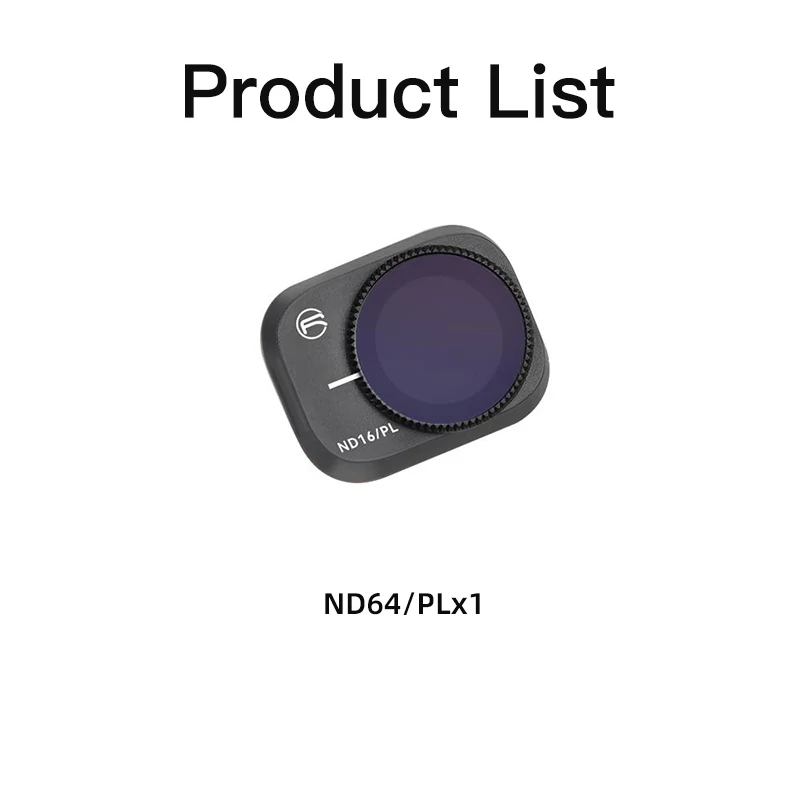
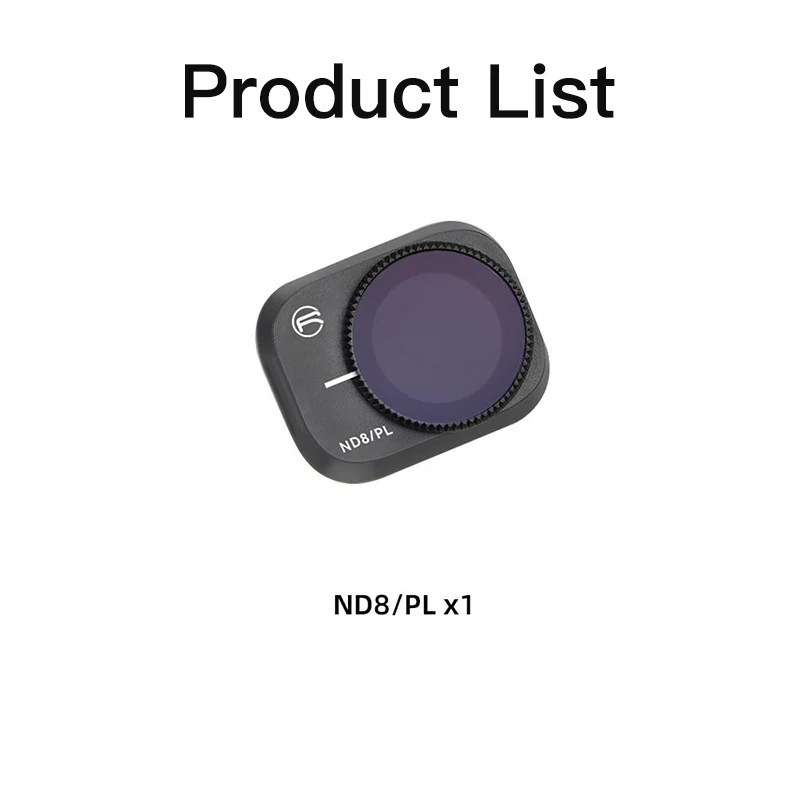
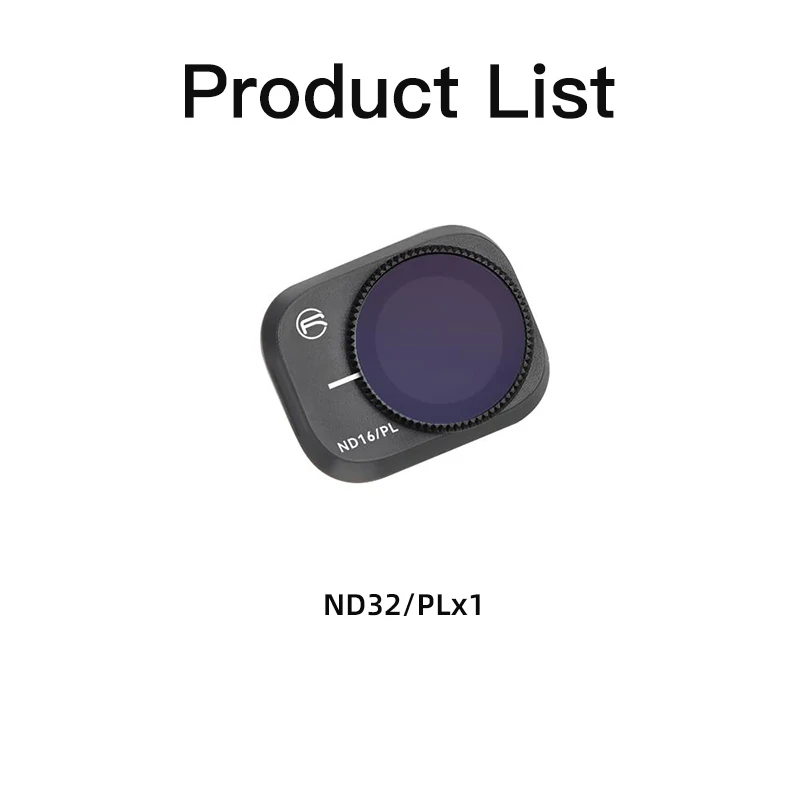
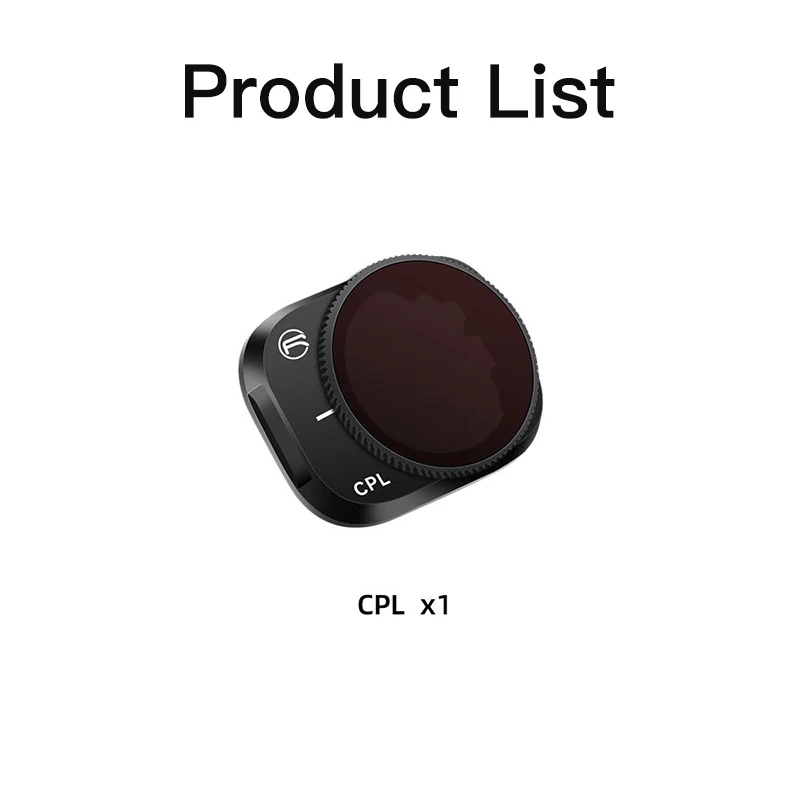
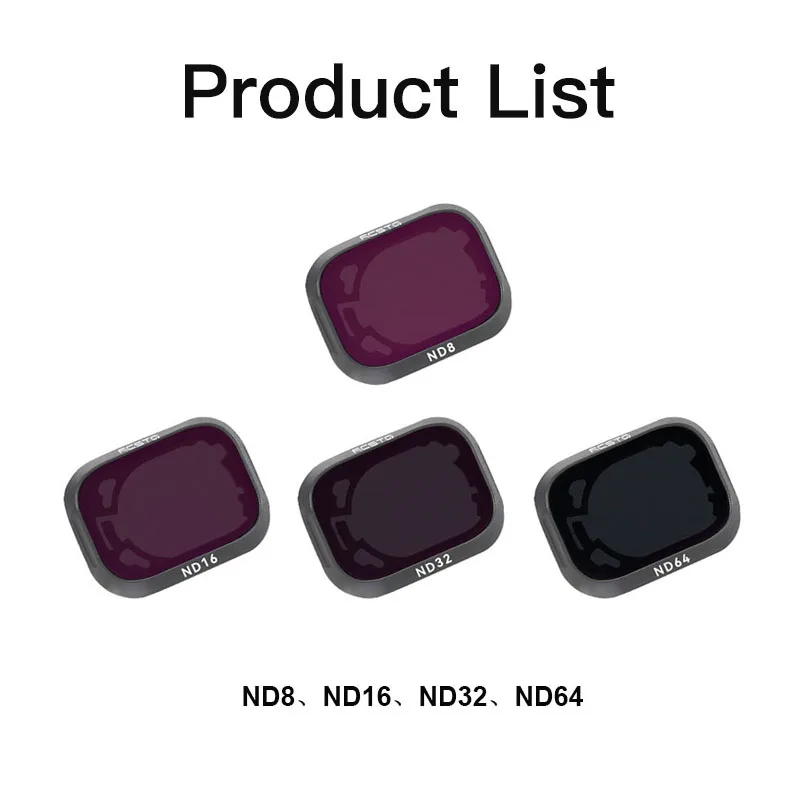
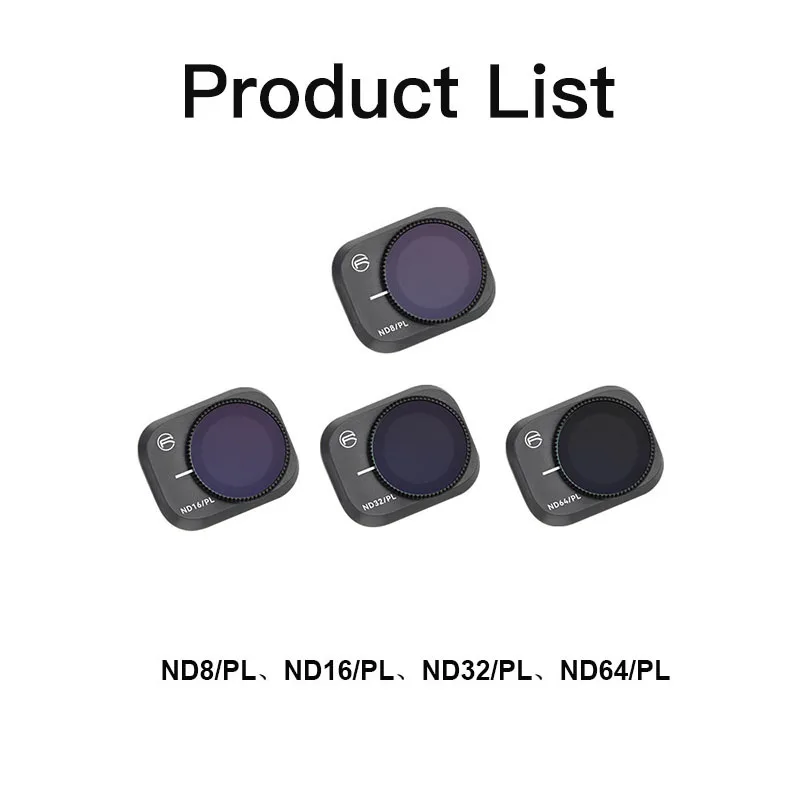
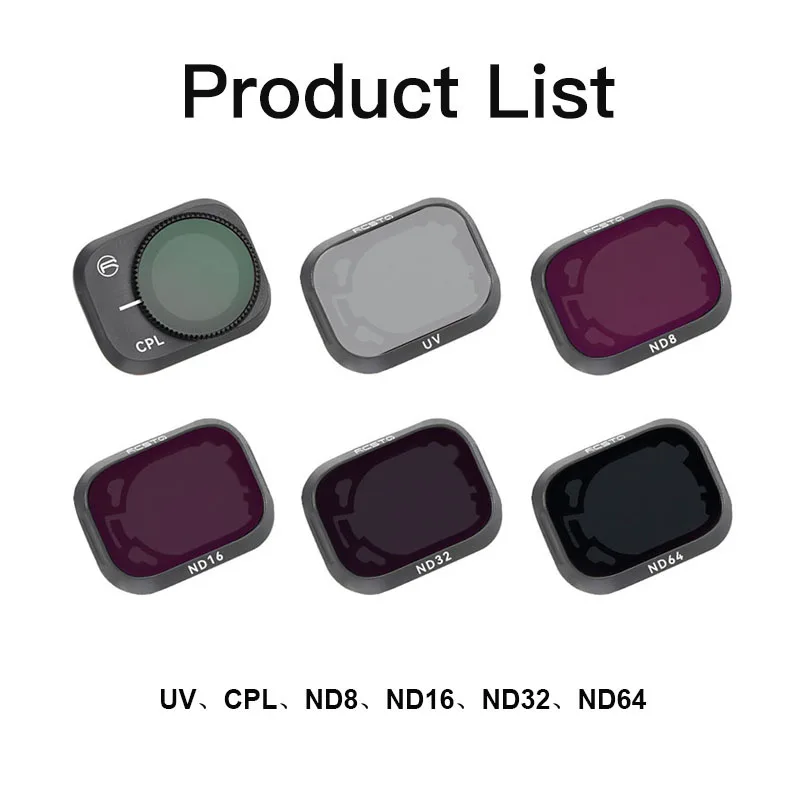
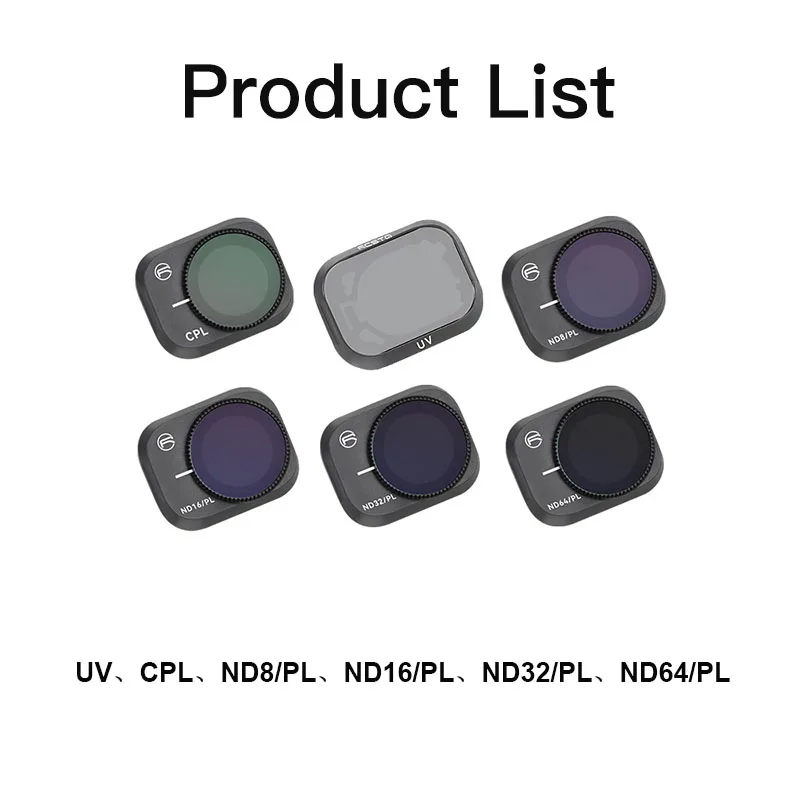
CPL Polarizer CPL can adjust the sunshine by means of adjusting the scale, chiefly to get rid of non-metallic reflections, make water extra transparent, and remove glass reflections UV protective lens Hard coating technology, effectively protect the lens, skinny frame without vignetting, excessive gentle transmittance, multi-layer coating reduces light refraction effect, no color shift, and improves picture quality ND clear out Image: In strong gentle environment, it should stop overexposure, withstand scattered light, develop colour saturation, make the image extra clear and gorgeous, and notice large-scale results corresponding to foggy flowing water and evening gentle trails Video: Reduce the shutter pace to make the video display have correct movement blur and look more comfortable ND/PL gentle discount + polarizer Picture: You can alter the gears to stop overexposure in strong mild environments, face up to scattered light, increase colour saturation, make the image extra clear and gorgeous, and accomplish large-scale results equivalent to foggy flowing water and evening mild trails Video: Reduce the shutter velocity to make the video screen have appropriate movement blur and look more well-off with scale Adjustable Optical Filters Freely adjust the luminosity of the sunshine via rotation because the lens rotates and consistently adjustments to choose the acceptable luminosity for shooting 1 Nano double-sided multi-layer vacuum coating task 2 Double-sided anti-reflection coating to minimize ghosting 3 More proof against dirt, waterproof, and oil-proof coating four Schott optical glass lens, clean picture Reminder: Put the emblem at the height and the model on the backside Do no longer put it backwards, in any other case the set up are not successful Multi-layer coated plastic filter out High transparency and high uniformity make the picture clearer Adjustable Filter - Installation Steps 01: As shown in the picture, rotate to the lower left nook to remove the unique filter out 02: The path of the letter is on the left, simply rotate and set up the filter as shown within the determine 03: Installation total Common Filter - Installation Steps 01: As shown in the picture, rotate to the decrease left nook to take away the original filter 02: The path of the filter lens is going through right, aligning with the UAV gimbal lens 03: According to the direction shown in the figure, just rotate and buckle in 04: Installation complete


Atsauksmes
0 people rated this product
RCSTQ Plastic Drone Filter For Dji Mini 3 Pro Accessories Camera Lens UV CPL ND4/8/16/32 For Dji Mini 3 Pro Drones Filters Kit


Bezmaksas piegāde un atgriešana
 QWQER Express,
 USPS,
USPS, DHL
DHL
Shopping security
- Safe payment options
- Secure privacy
- Secure logistics
- Purchase protection