

Opisy
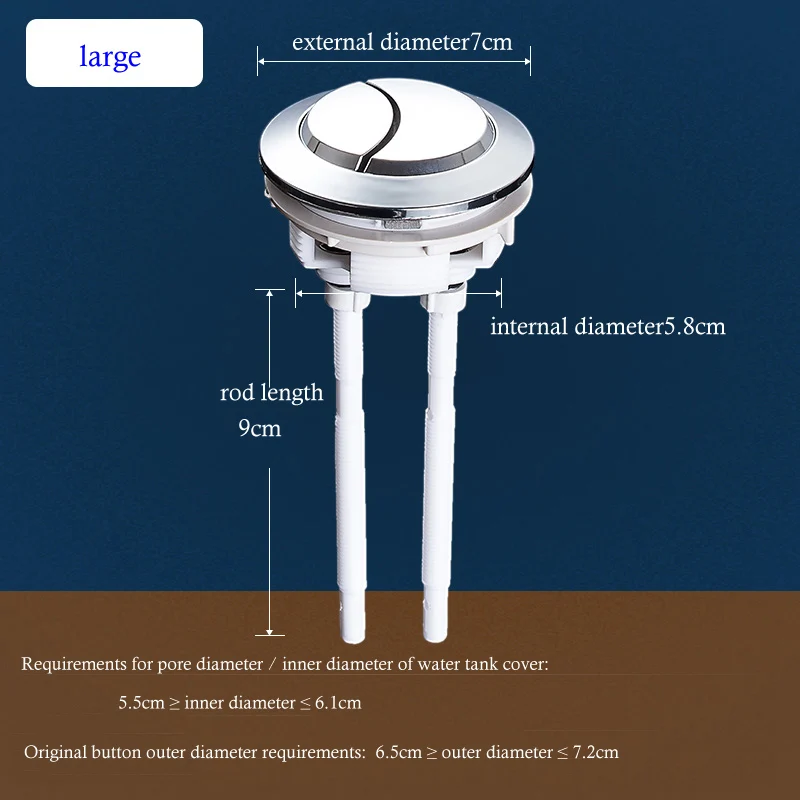
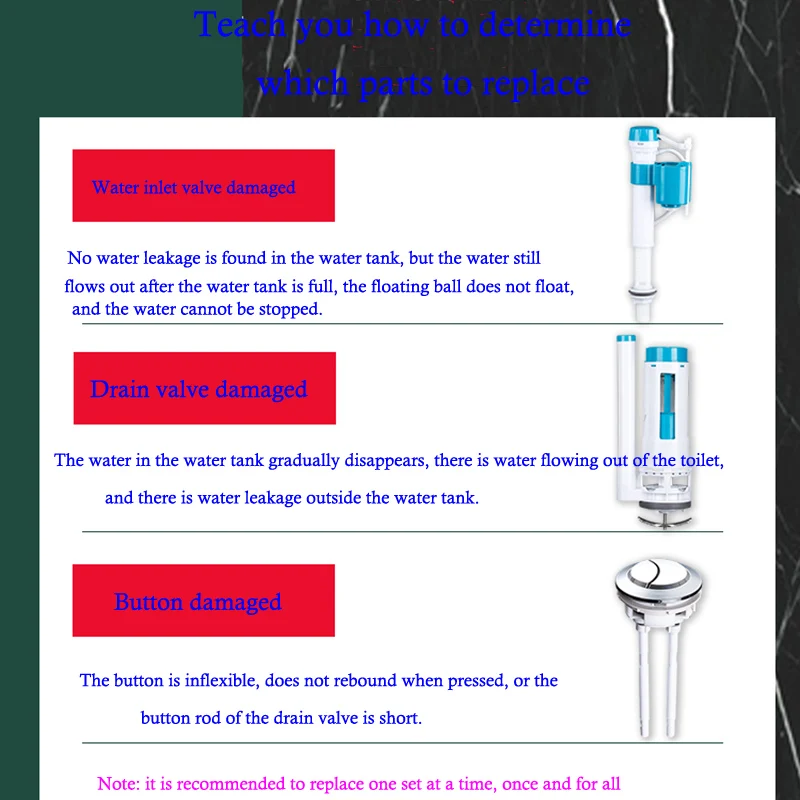
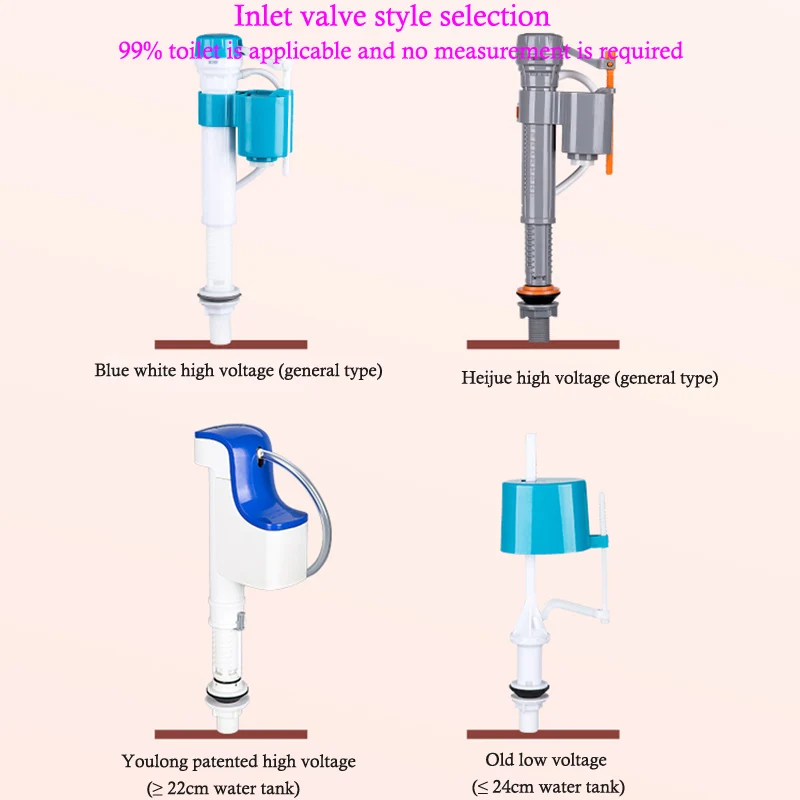
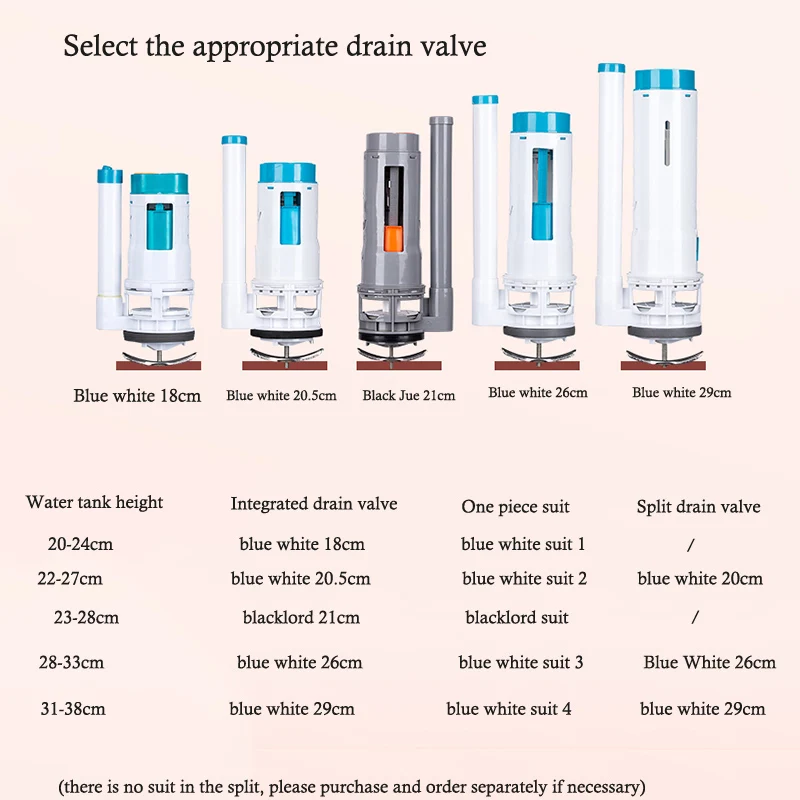
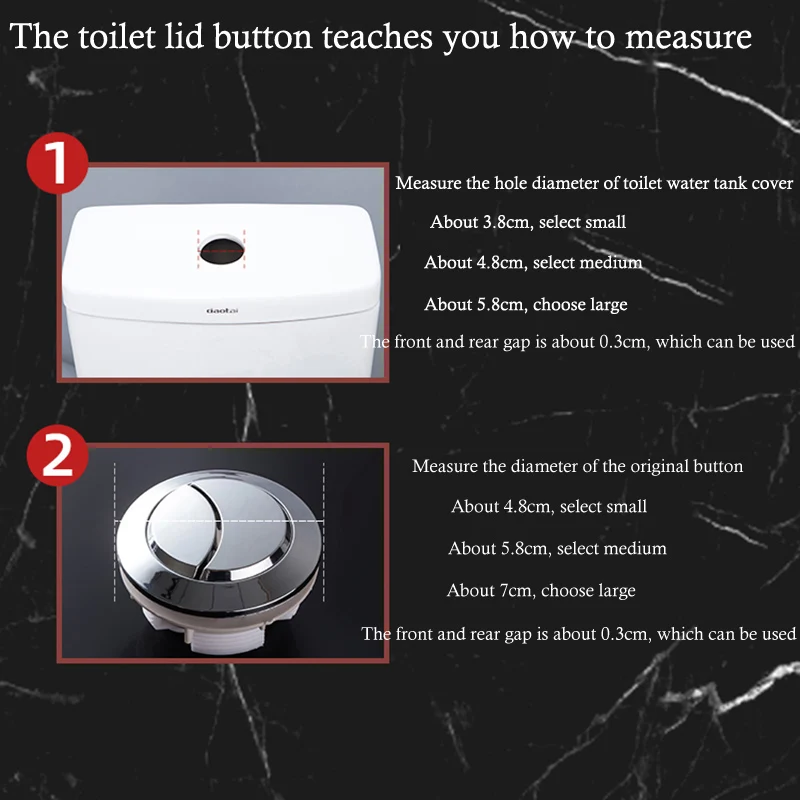
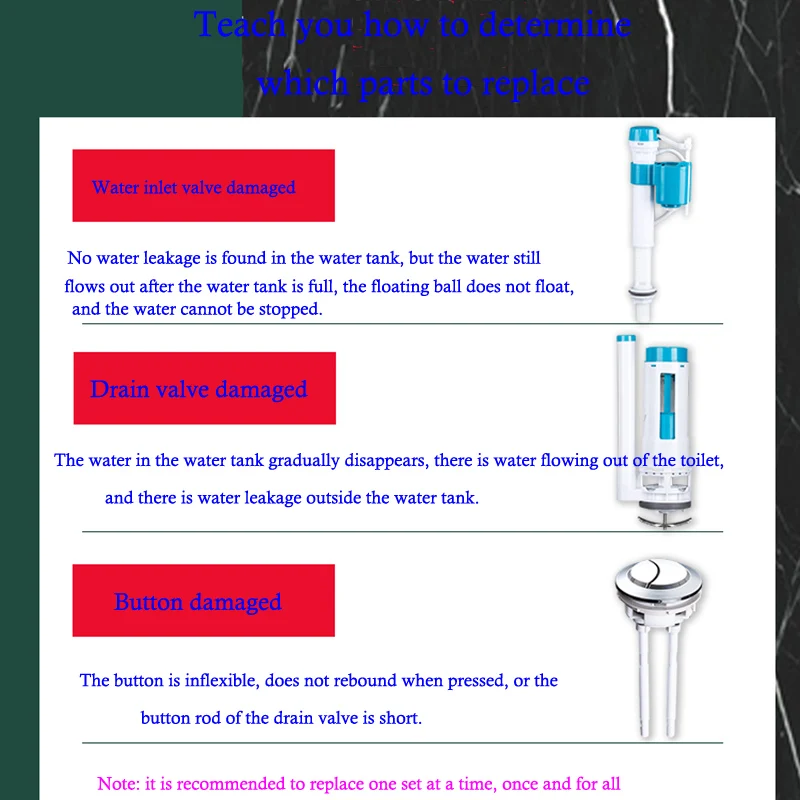
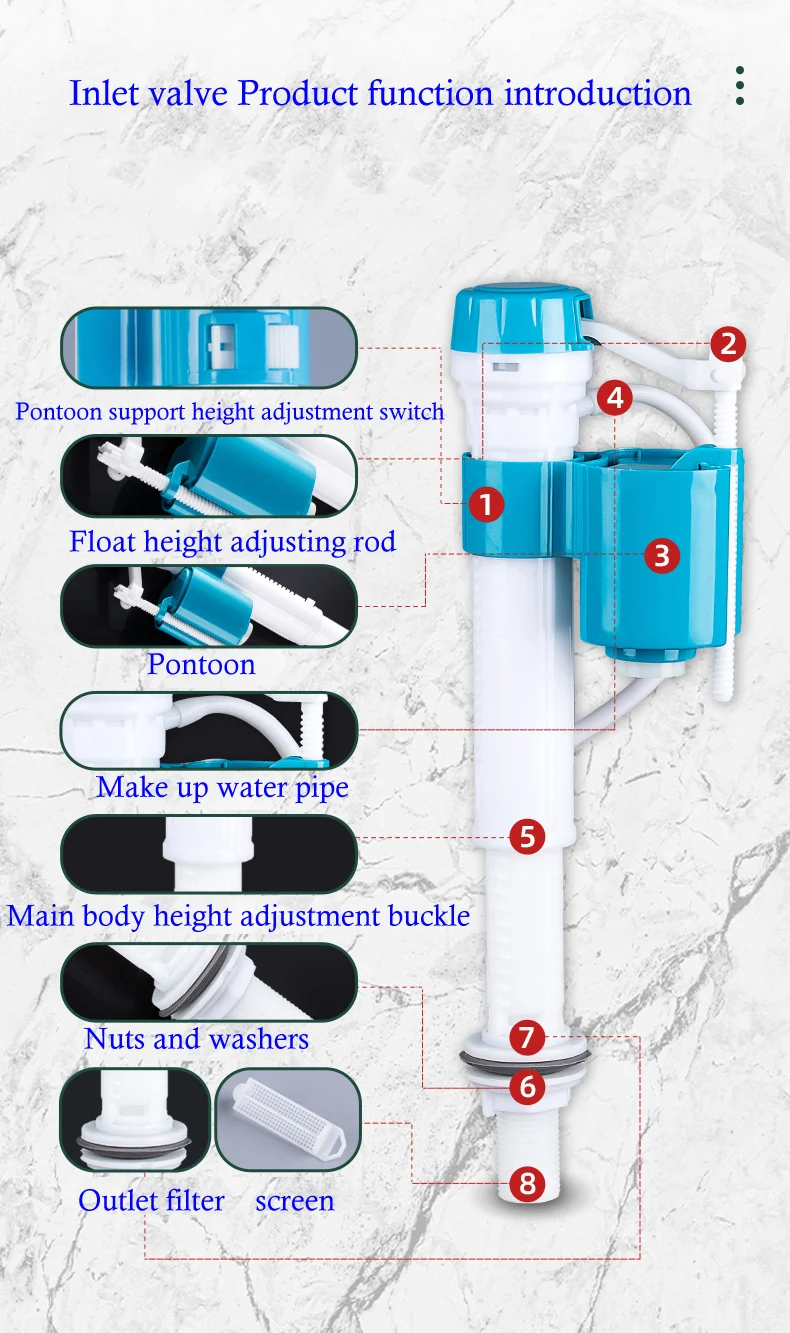
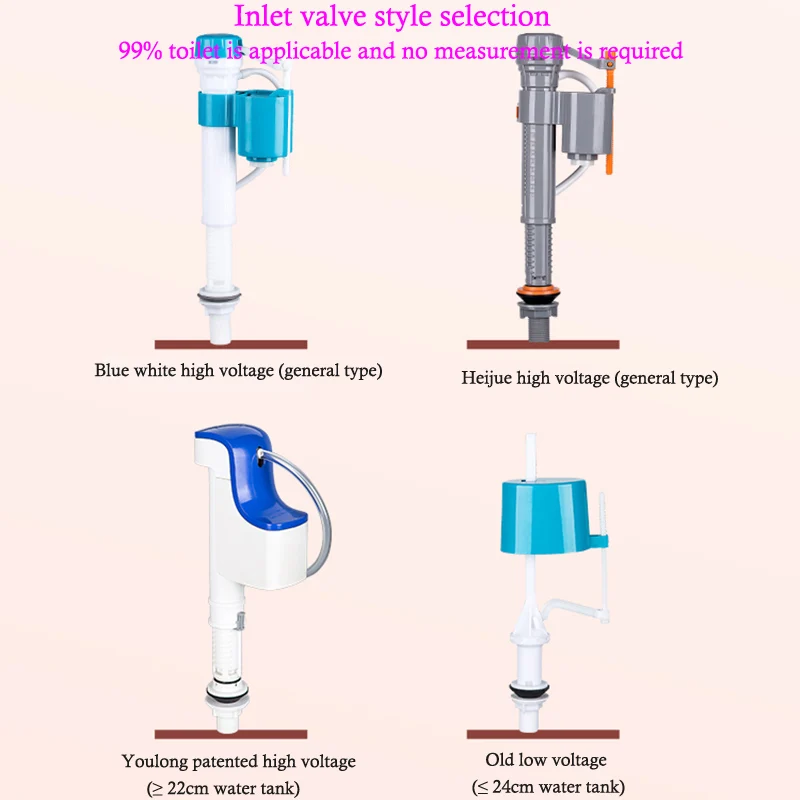
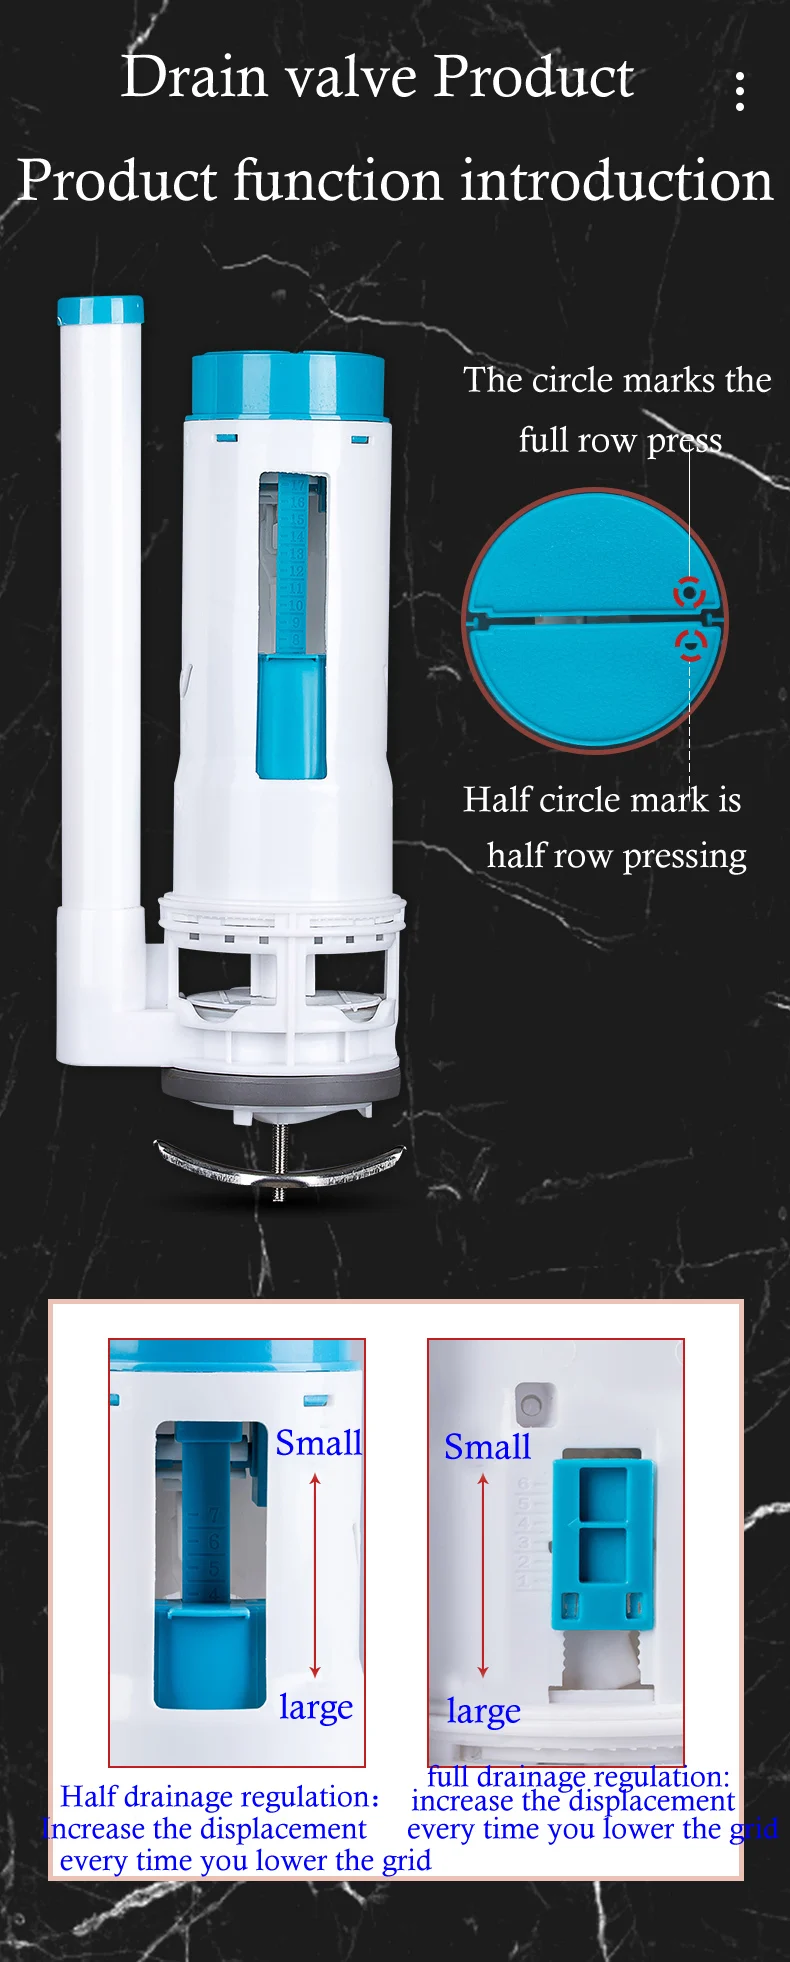
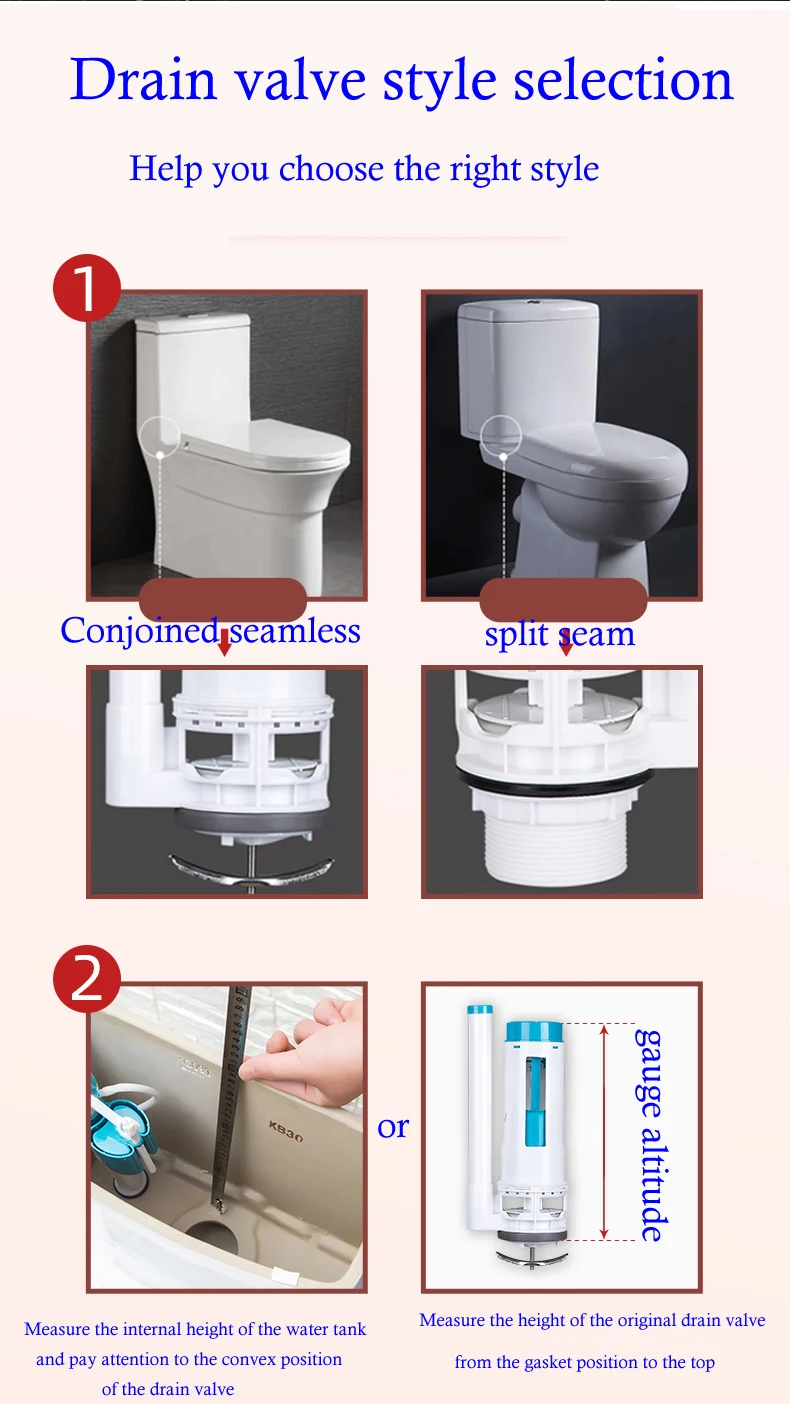
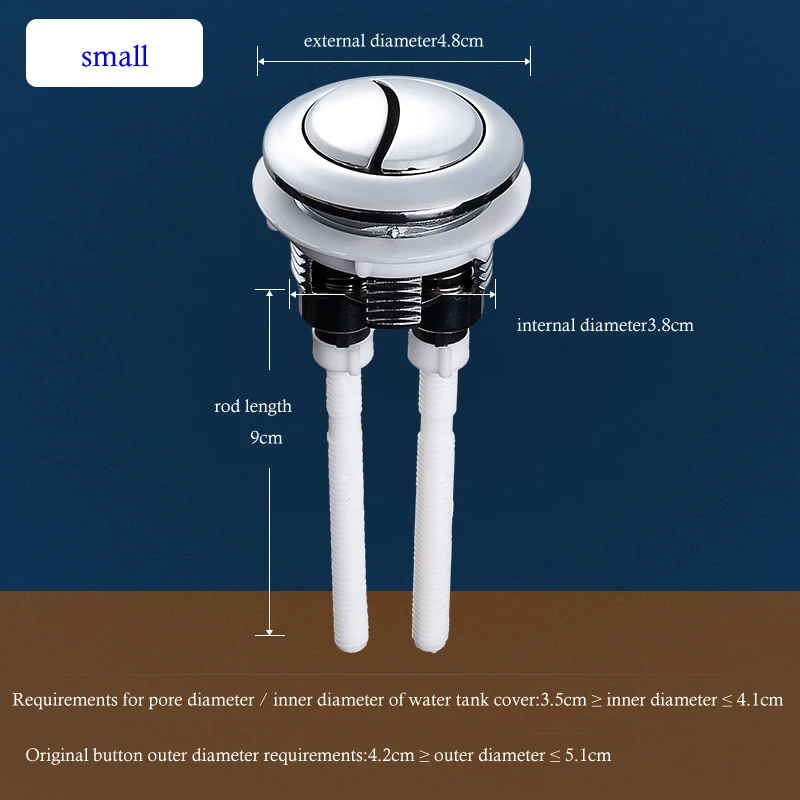
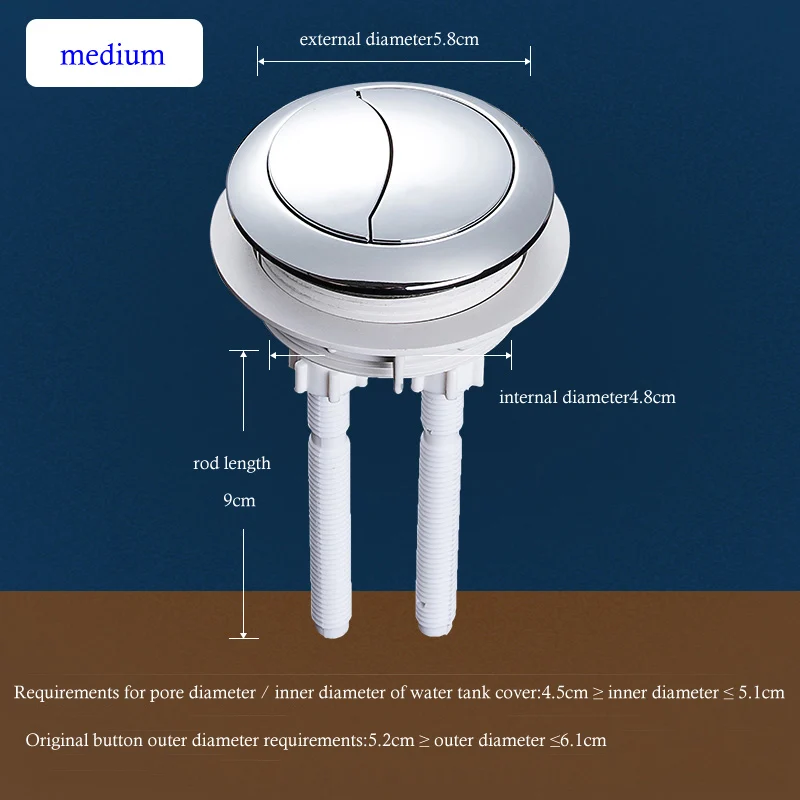
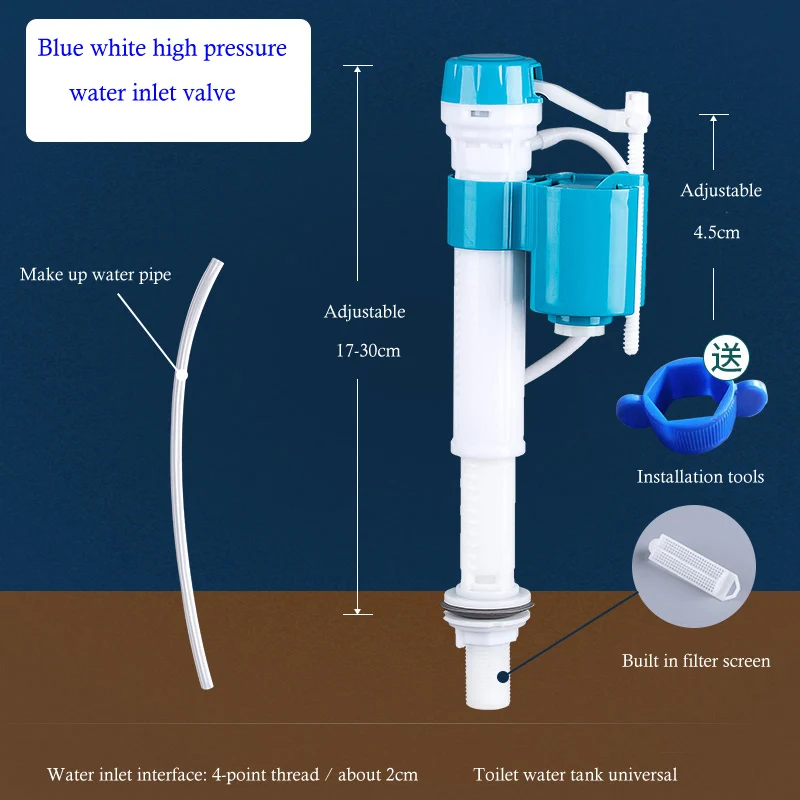
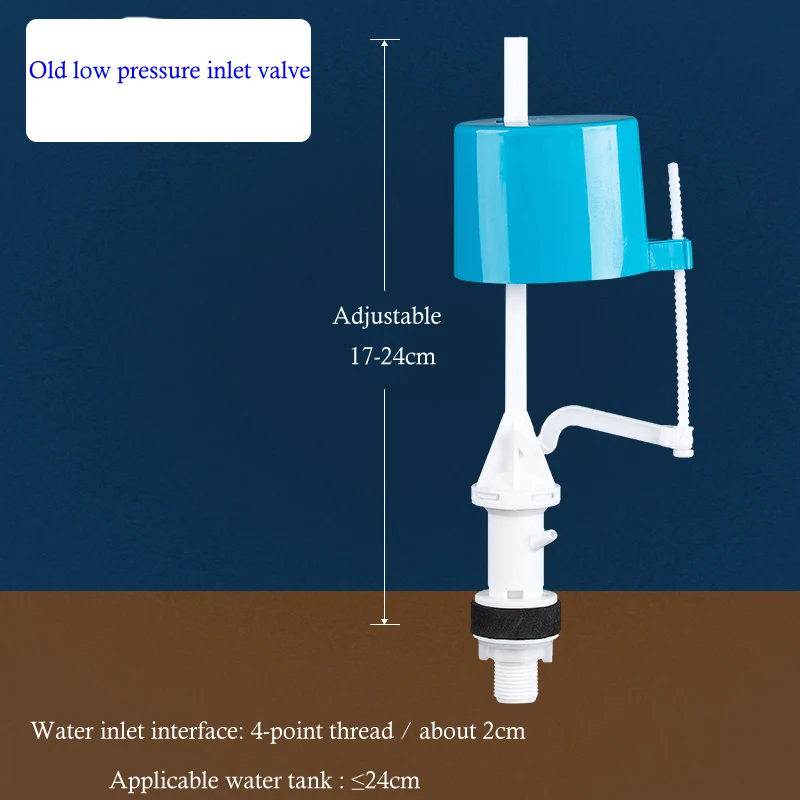
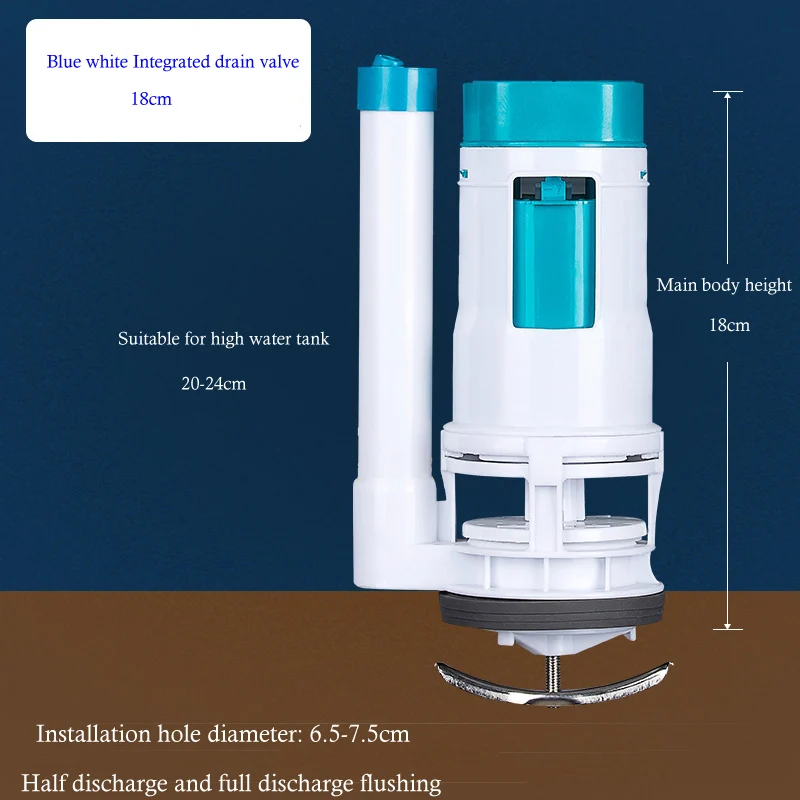
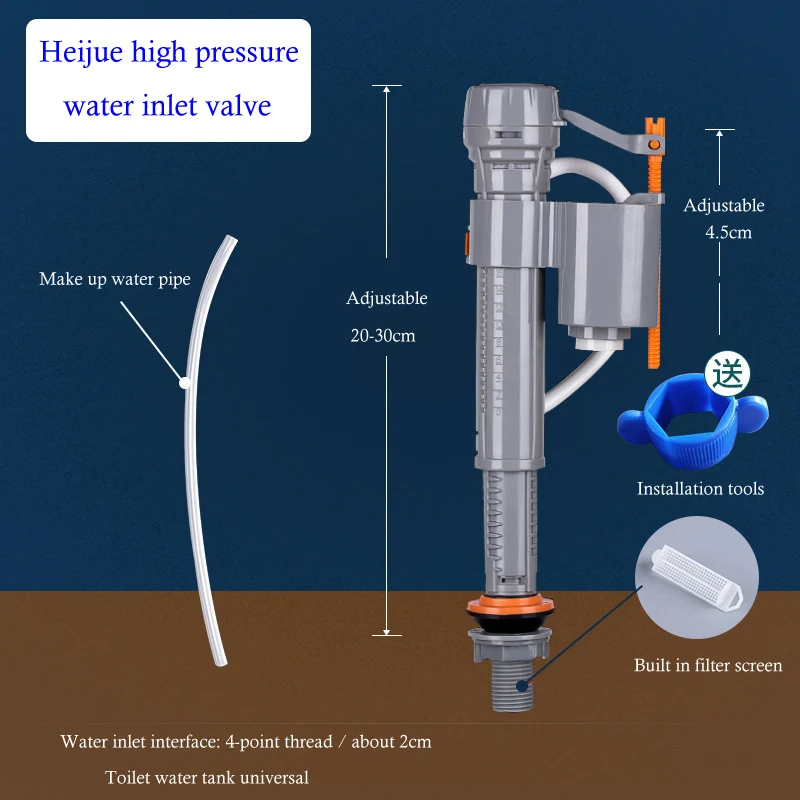
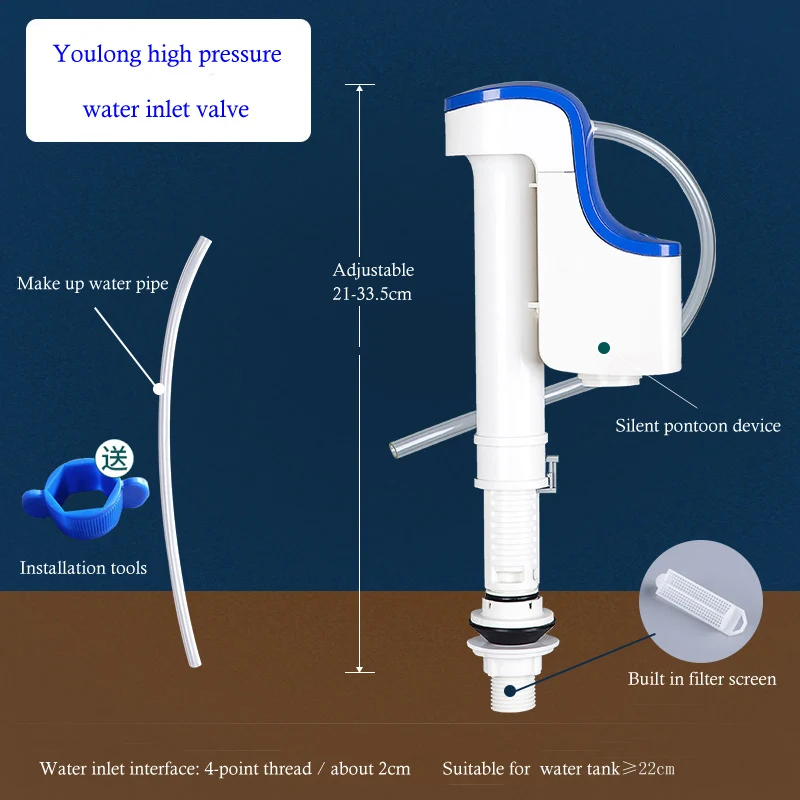
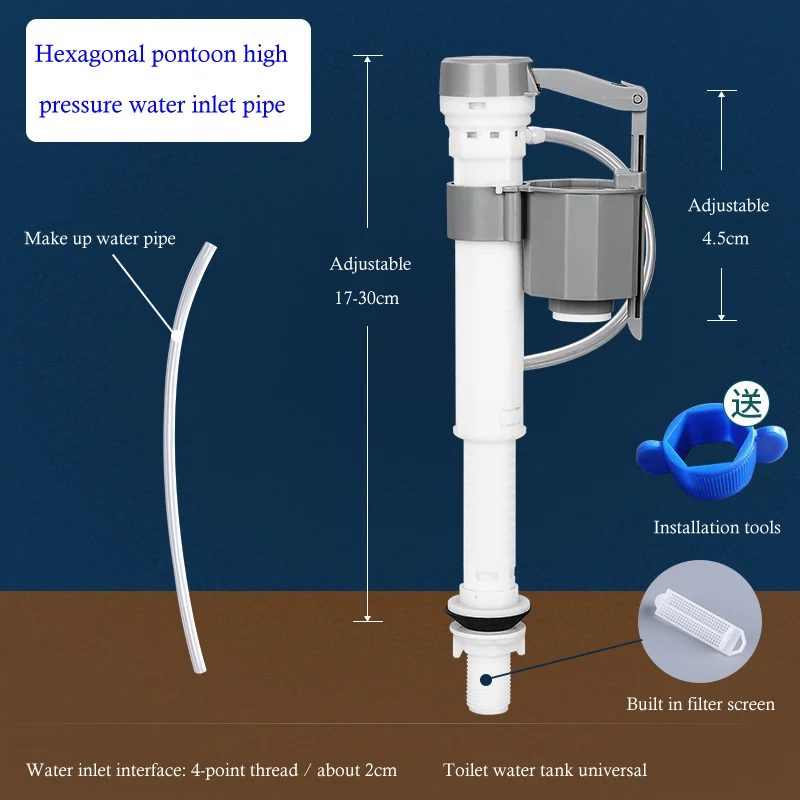
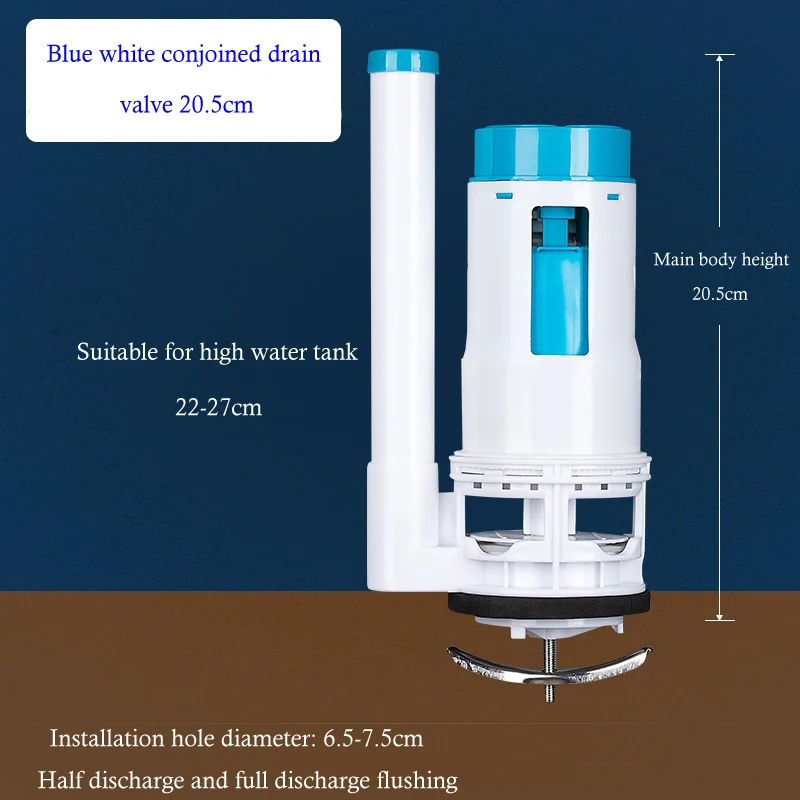
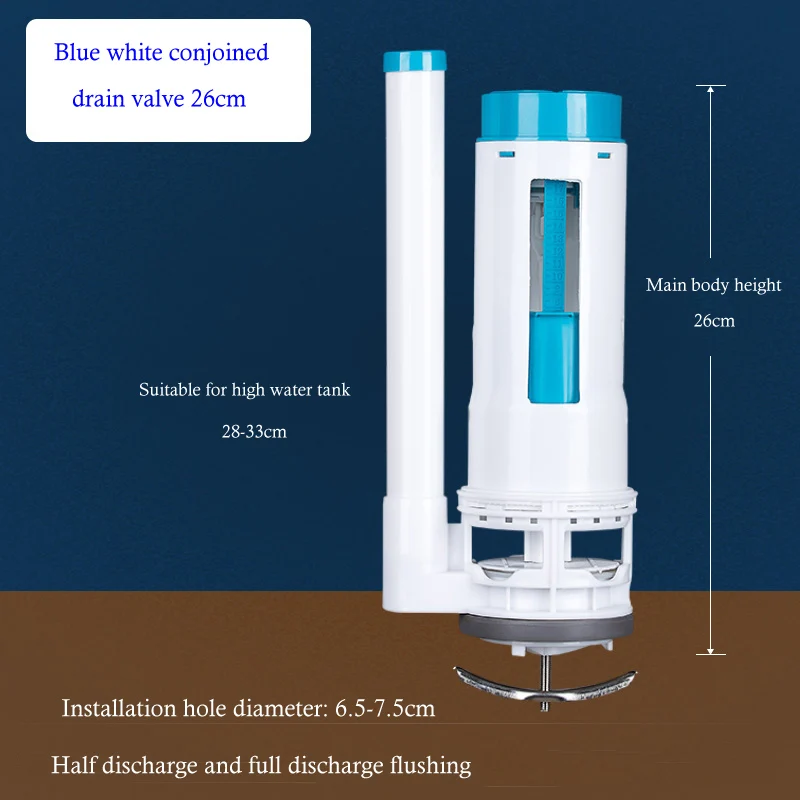
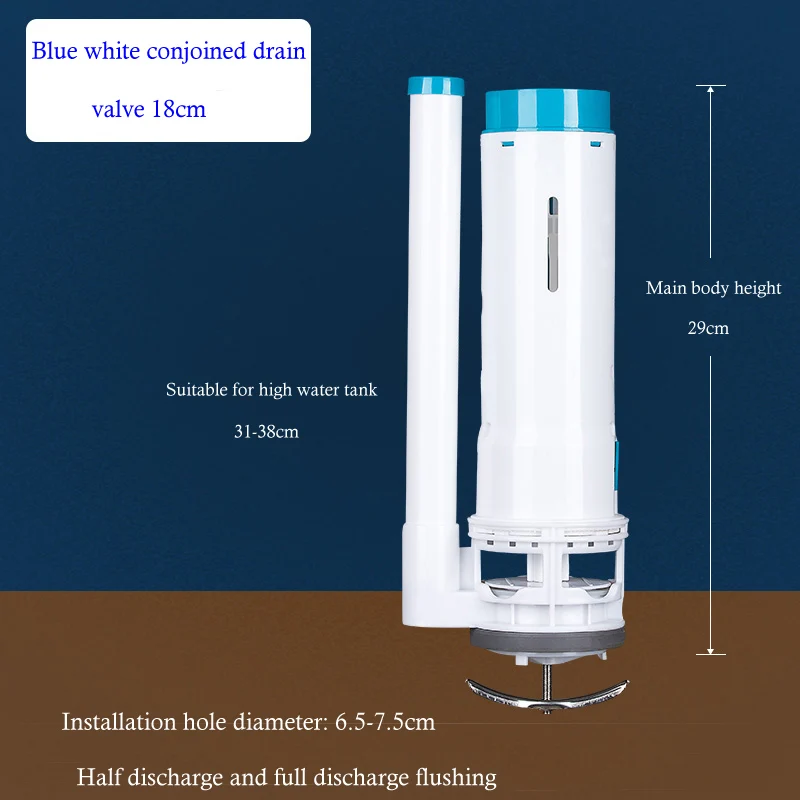
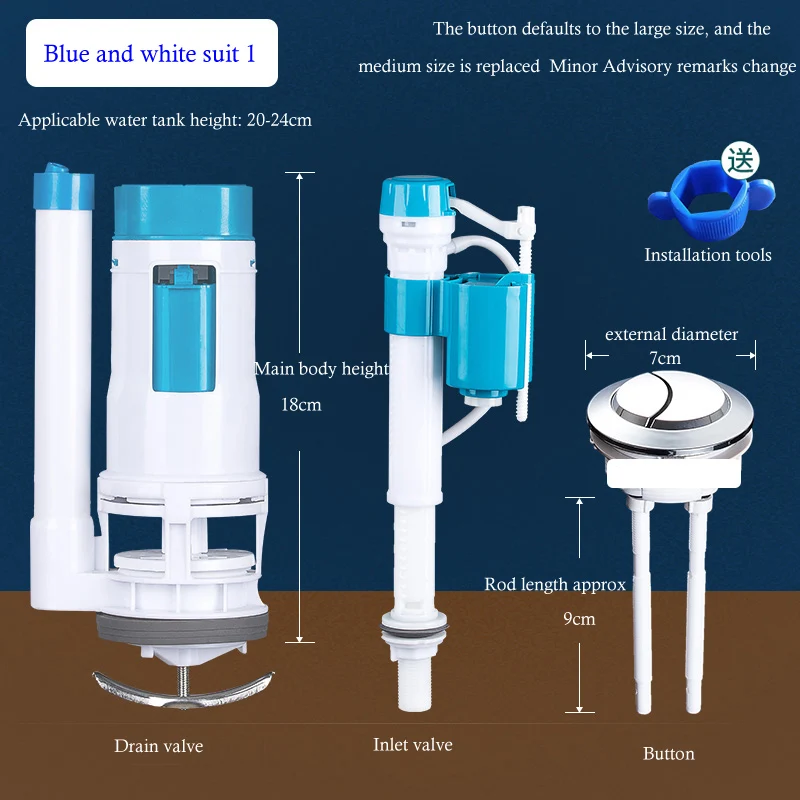
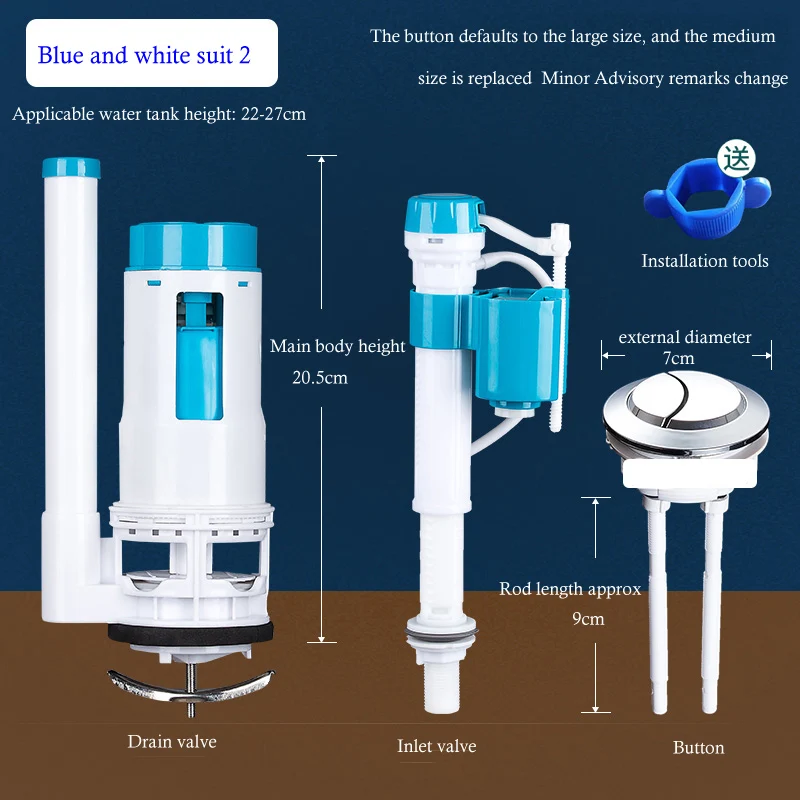
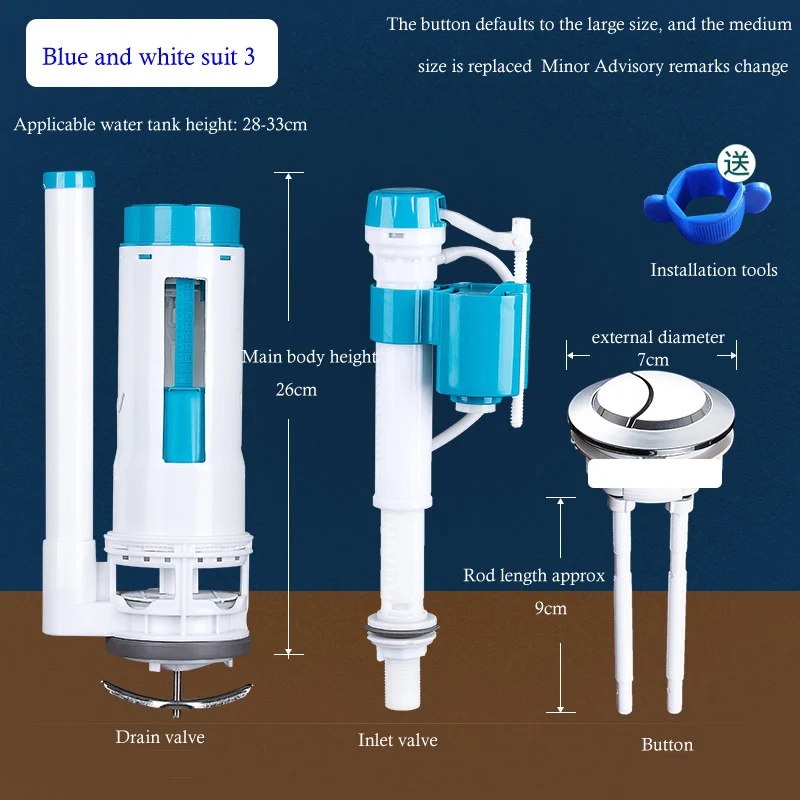
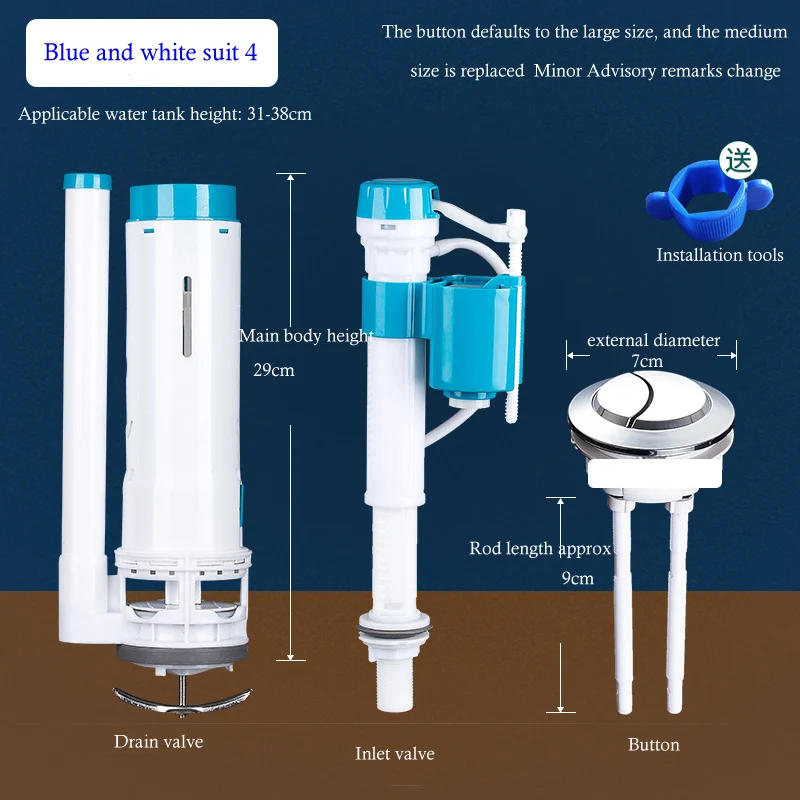
Teach you ways to establish which aspects to replaceWater inlet valve damaged: No water leakage is located within the water tank, but the water however flows out after the water tank is full, the floating ball does not float, and the water can't be stopped. Drain valve damaged: The water within the water tank regularly disappears, there may be water flowing out of the toilet, and there could also be water leakage outdoors the water tank. Button damaged: The button is inflexible, doesn't rebound when pressed, or the button rod of the drain valve is short. Note: it is strongly recommended to interchange one set at a time, once and for allInlet valve Product function introduction1、Pontoon support peak adjustment change 2、Float top adjusting rod 3、Pontoon 4、Make up water pipe 5、Main physique height adjustment buckle 6、Nuts and washers 7、Outlet filter 8、 screenInlet valve genre selectionDrain valve Product operate introductionThe circle marks the full row press Half circle mark is 1/2 row urgent Switch Description: Half row is acceptable for urinating and the whole row is acceptable for defecating Rational use saves the earth&;s resources. Half drainage regulation: Increase the displacement at any time when you lower the grid full drainage regulation: develop the displacement everytime you decrease the gridDrain valve genre selectionConjoined seamless,split seam gauge altitude:Measure the inside peak of the water tank and listen in at the convex position of the drain valve or:Measure the peak of the unique drain valve from the gasket position to the topConfirm the outlet diameter on the water tank drain valve and measure its diameter gap diameter is set 6cm ~ 7, which is relevant to this paragraph The aperture is ready 8cm ~ 9cm, which can't be adapted Click to purchase large aperture units or seek the advice of visitor serviceThe lavatory lid button teaches you ways to measure1. Measure the hole diameter of bathroom water tank conceal About 3, choose small About 4, desire medium About 5, desire wide The front and rear hole is ready 0, which can be used 2. Measure the diameter of the original button About 4, select small About 5, favor medium About 7cm, favor huge The entrance and rear gap is ready 0, which are used Approx. 9cm screw rod Free clipping height The top could be minimize freely in keeping with the actual installation (according to the reference mark)Anti Siphon DesignRefuse to drink rest room water Prevent backflow of water sourceHigh density filter screenIt can efficiently forestall impurities from entering into the filter display screen and may be pulled out for cleaningTight seal Double leak proofThickened and widened sealing ring, It could be watertigh Primary leak proof:External black sealing ring Double leak proof:Built in silica gel white sealing ring304 stainless-steel corrosion resistant and durableCorrosion resistance and durability Good processability and immoderate toughness High temperature resistance, corrosion resistance and longer provider lifeInstallation of inlet valve:1 the water inlet of the water tank and installed the chosen water inlet valve 2 the nut under the water tank three the upper half the drain valve 4 set up complete! inlet valve and drainage valve: 1 and disassemble the drain valve 2. Put the drain valve base into the drain hole and screw it down three the nut beneath the water tank 4. Replace the higher half the drain valve Note: the gap behind the water tank is narrow, so it can't be usedRotate and tighten the nut, and the second one period disassembly and assembly instruments can be used to aid in disassembly and assembly button establish reference1 button height:Mark in step with preceding peak length 2 via tag three set up the button 4 is whole
Recenzja
0 people rated this product

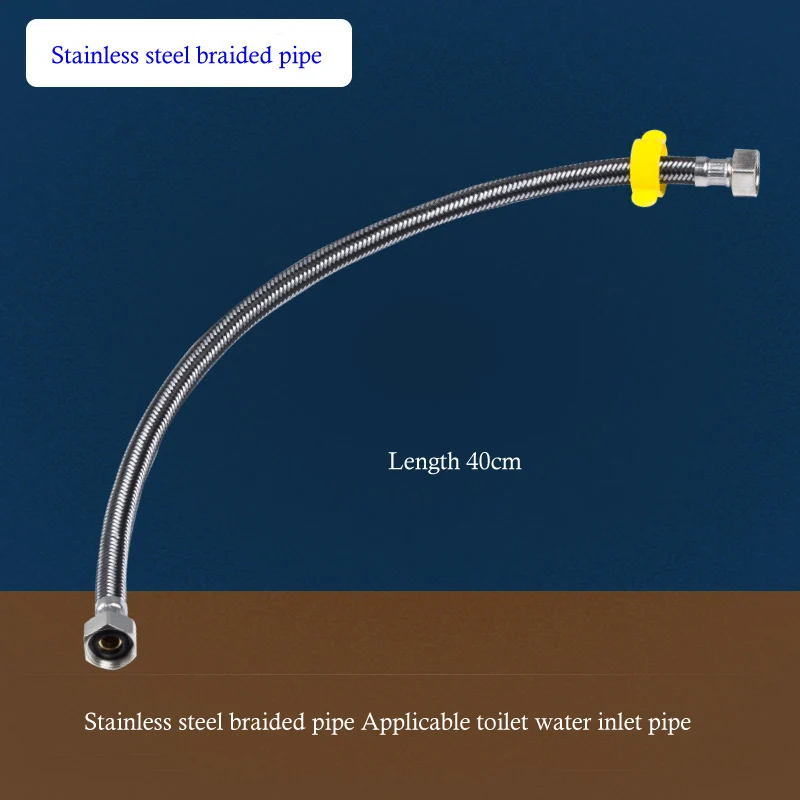
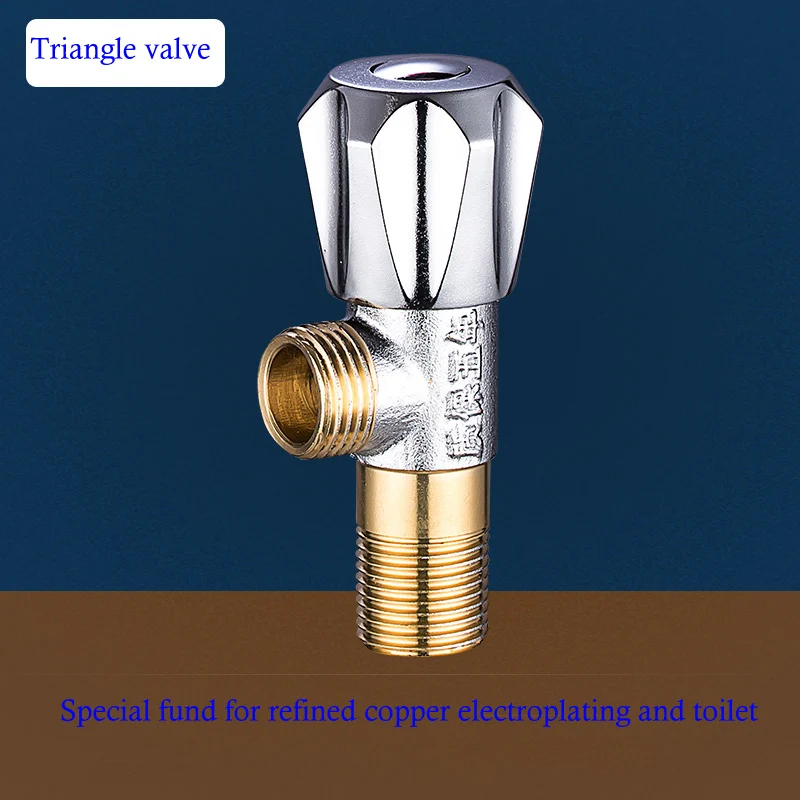
General Toilet Water Tank Accessories, Water Inlet Valve, Flush Tank, Drainage Toilet Water Supply Device
Wysyłka i zwroty
 QWQER Express,
 USPS,
USPS, DHL
DHL
Shopping security
- Safe payment options
- Secure privacy
- Secure logistics
- Purchase protection